With some of the sound refinement completed I looked into tightening up the model of the ravine. Some final tweaks merely to make things a little easier come the later stages. This included adding more crags (it was suggested to me that given the harshness of rock and the concept art we might be able to use an unsmoothed model),
I had thought about keeping the ravine floor smoothed. The material could have been sand that was blown over the ledges by the ocean current and settled on the floor, depositing itself unevenly down below. This could also act as rooting material for some of the plants, as sand is easier to push roots into than rock.
The lattice deformer tool was used to give the ravine floor a rise on the ends, while an accompanyinglattice near the surface was used to give the sense that the split was more extreme in terms of elevation nearer the centre. This will allow the connecting part of the floor to better sync with any ground plane extension we use
I removed some of the geometry along the ledges as it was giving some slightly odd shapes in the shader engine that did not feel natural. While also tweaking some of the vertex positions to smooth transitions.
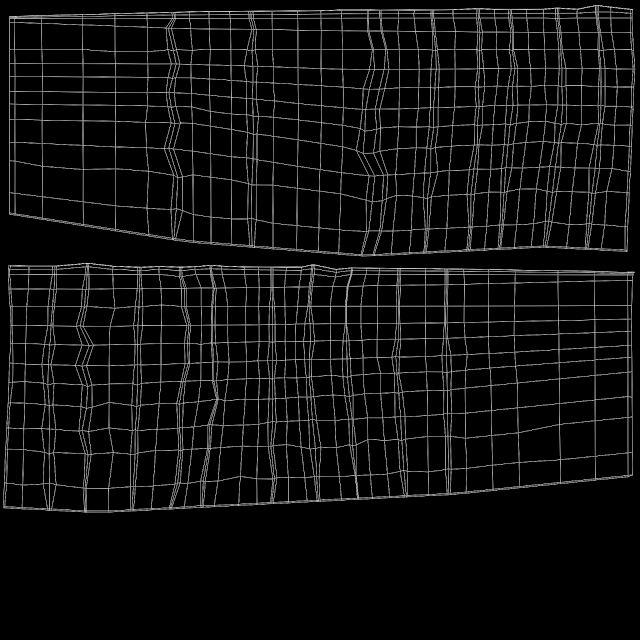
Finally I created some workable UV maps for the various surfaces. Because of the sheer scale of the model I had to resort to cutting up the UV maps not just to fit them on the UV square but also to ease the rendering times as it will allow us to use smaller texture maps.
Perhaps an alternative when it comes to rendering is to create two models. The seabed will be out of focus or distant so we may be able to get away with a small-ish texture map. But the ravine walls there could be two maps - high-resolution and low-resolution, each on their own separate model that we key to alternate depending on the camera distance. But this might involve more maps and more cutting up.
 |
| Ravine bed |
 |
| left-hand wall |
 |
| right-hand wall |
 |
| Ledt-hand ravine floor |
 |
| right-hand ravine floor |


No comments:
Post a Comment