Showing posts with label Mudbox. Show all posts

Saturday, 23 September 2017

A Modeling Sandbox


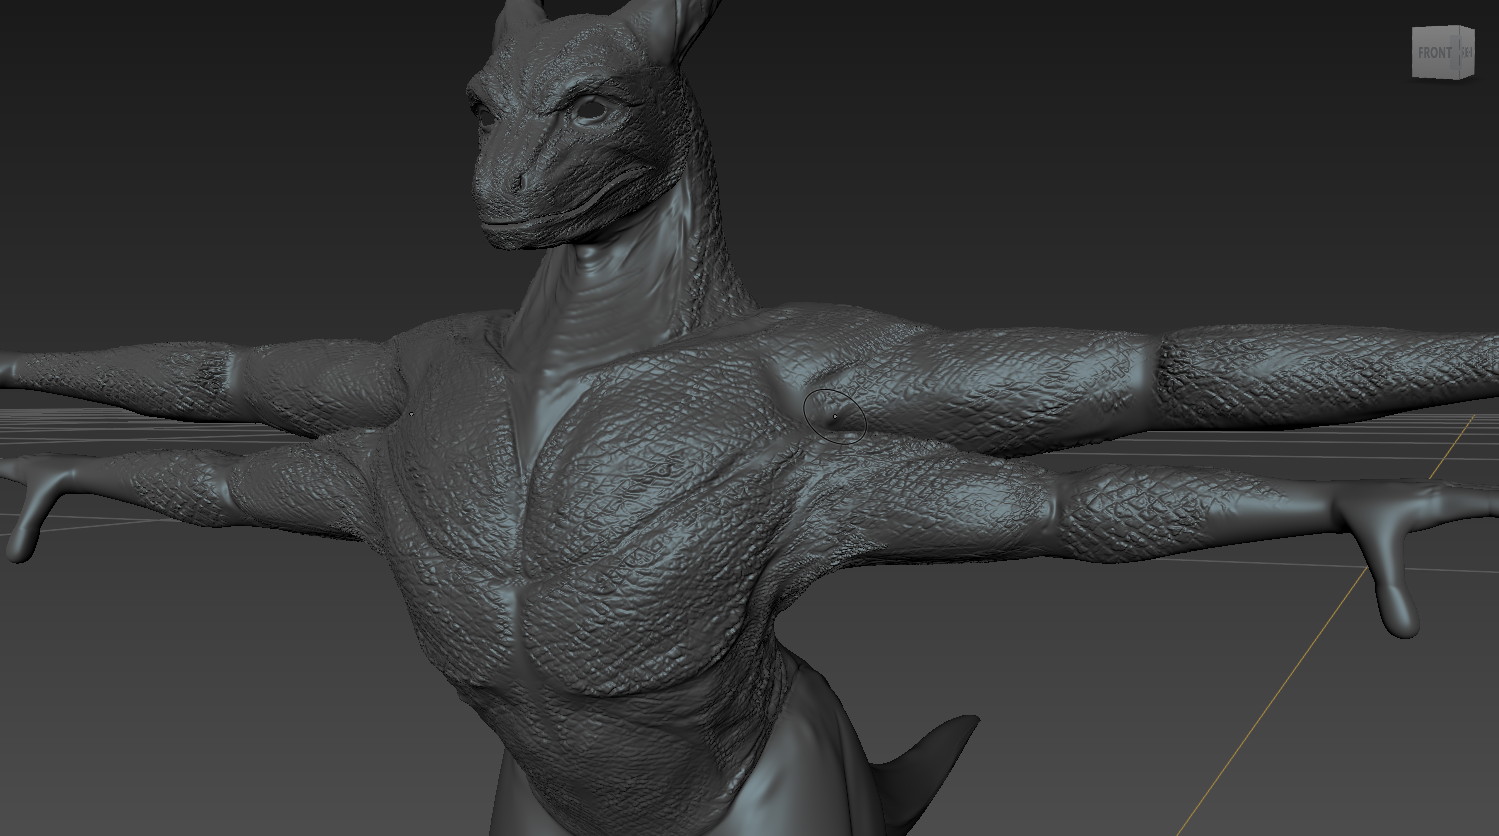
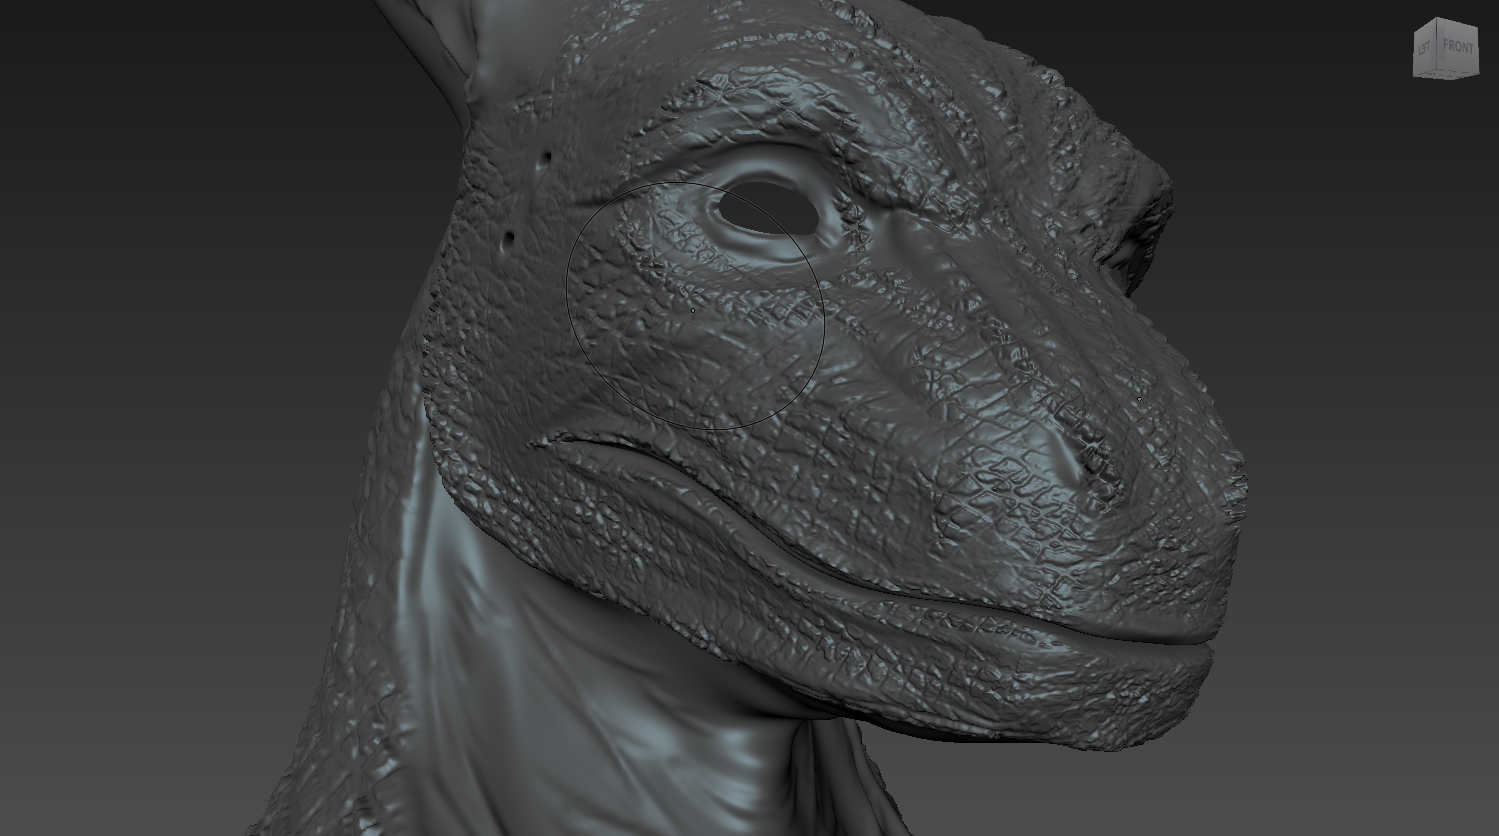
  I've been doing a little practice work on a model that I made long ago, I've had plans to revamp it for a while. With time in Mudbox I hope to make the skin considerably more convincing, which right now primarily serves as a base texture to build on. I mostly wanted ot go deeper with my modeling - better skin, better texture, better skinning, a test-bed for ways to create models that are a little more convincing


  The process was similar to the refinement of Four: A 3D model created in Maya transferred over to Mudbox then brought back to Maya as a low-poly model overlaid with a normal map.

It's not all geometry, underneath this structure is a skeleton so when the whole mini-project is finished this creature should be poseable, animatable and something that can be brought in to a more complex scene. At the very least I'm getting more familiar with Mudbox sculpting tools.


Friday, 10 February 2017

Four: Retooling the Juvenile Skin

Basic displacement map
  Having some difficulty with the normal maps and the Mila shader I investigated another angle. Exporting a displacement map from Mudbox appears to have given Four definition where there was none before, and while it has added a fair degree to render times, an added benefit could be that when these regions fold, the sharper geometry in the compressed spaces will create a (somewhat) more realistic set of folds when it comes to lighting.

an occlusion map was added to bring out the darker regions

The result of a normal map added alongside the displacement map

  One plan was to use a normal map alongside the displacement, as the image above shows however, this caused a couple of errors that annihilated some of the definition; the opposite of what I was after. The experiment concluded, the normal map was removed and definition was kept to the displacement map.

The specular was toned down and a highlight added to give translucency to the skin
 Now that the displacement map is providing something that needed to be supplemented by features on the texture map, I figured the textures need redesigning.


  To od this, the displacement and ambient occlusion maps will be used as a template to work out where the folds are, crevices will be darkened to give colour. The image below is the model with this template, which looks somewhat horrifying as the poor creature is covered in yellow-green marks. After I'm done with the texture, something much cleaner should take this image's place. 


Wednesday, 1 February 2017

Four: Polished Juvenile, Now With Skin


  More time was spent today on Four. The primary tasks today were finalising the gemonetry, fitting the claws and creating the foundation for the skeleton.


While the framework for the skeleton has been established, With Mudbox, the ins and outs of Four's skin was sculpted. However after exporting I am conflicted as to whether a displacement map would work better to distinguish the folds. At an intermediate distance, like a full-body shot, the normal map works


  Some work still needs to be done with her skin, as right now it is just a repeated texture and lacking the details the adult has like around the eyes or the colouration down the back. I am tempted to go with the pinker colouration. The yellowish colouration appears dead and rotting.


Thursday, 10 November 2016

Personal: Landscape Sculpting practice


  It's been on my mind to recreate the city from my What If Metropolis project for a few days now. So what I considered doing was a digital sculpture of the landscape that surrounds the city and the focal point could be the city centre.


  In retrospect however, this landscape could be used as a location for the Ceti base for the major project. The ground in the centre is mostly flat and the environment around the bas ewill only be seen twice: During the company's advert (which will focus more on the base itself) and when Four emerges from the base airlock to see the outside world for the first time.

Tuesday, 28 June 2016

Reworking the Dragon Man: Face and Feet


  Looking to get back into creature modeling so I'm making some tweaks to my Mudbox model to try a more convincing design. One of the largest changes I'd say is with the head. As this creature is a flier I had taken to the idea of adding a few avian qualities to the head to make it more streamlined and aerodynamic. 


I might add nails to the hands, but their design will be slightly different to the talons on the foot due to slight differences in geometric complexity. But this is something that will be sorted out during that construction. The current design of the foot came with a fair deal of research into the feet of birds and therapod dinosaurs, while also considering how the hands are arranged by comparison, as quite often hands and feet are anatomically similar. Proportions can be different but in a number of cases the number of digits or bones is quite similar between the hand and feet.


Thursday, 9 June 2016

Reworking the Dragon Man


  Didn't mean for the blog to become this quiet but I'm back on another project at Butch Auntie,, (thank my eagerness over opportunities for that) which means most of the day for the next couple of weeks will be is spent in Maya. Before I got stuck in I looked into reworking my dragon-man model to see if I could streamline it or generally use what I head learned making Colo Colo to improve on the design.


  I didn't spend much time as I quickly found myself engrossed in work but the progress I have made on this model so far is primarily improving the snout, eye sockets, brows, leg and tail, while also adding a bit ot the geometry and cleaning  a few things up. Unlike the previous model I also look to create a UV map for this, it might reduce the pressure on my PC when it comes to applying textures as it means I can use a standard normal map instead of a complex PTEX normal map.


Thursday, 5 May 2016

Autodesk: Year 2 Term 2 Stocktake

Dynamics


Pipeline Two


Mudbox


Wednesday, 4 May 2016

Maya Tutorials: Last of the Lighting Effects


  Continuing to make progress with the Maya tutorials that have been set. The last few relating to Mental Ray proxies, diffuse maps and motion blur.


  With the motion blur tutorial, I came to realise what might have been slightly off about Colo Colo as it ran (when it was actually in motion I had suspicions it didn't feel completely natural). So I was intrigued to discover the power a little motion blur could have on giving something a natural movement. I might look into motion blur in Premiere Pro and After Effects, however I have also considered making a mini-project out of refining the creature's model, which opens up the possibility of using Mental Ray's motion blur system without needing to essentially re-render images I already have. The displacement map tutorial has also given me inspiration to return to working in Mudbox to finish a model I had come a fair way on.


Wednesday, 20 April 2016

Colo Colo: Diffuse and Normals Done


  Much of today's priority was finishing the textures. And at this stage I believe the only thing left is a specular map. When I completed the textures I imported the model into Mudbox, using the clone tool to clean up the seams between the various parts of the core body. While I think this has certainly helped the quality of the model, I ended up hitting a stumbling block with painting the textures in Mudbox as I was using two textures on a single body. I compromised by tiling a sample of the skin from aroudn the feet and transferred it to the body UV where I copied it, blended the copies using the clone tool and then used an eraser to blend the layer to the base of the legs.


  In the right light, the normal maps really define the roughness of the skin. The addition of specular maps may be what is needed to make the skin definition pop out and give it some moisture.


  There's still an issue with the line running down the leg. But cleaning up the model I think cut it down slightly, I attempted a clean projection on an alternate file to find that this version (planar projection, cut at the same point as on the main model) looped its edges around as well. Fortunately it seems ot be just the edge, if I move the cut-line down the model, the seam moves.


  I didn't get to shape him in Mudbox like I initially aspired to but I'm not disappointed. The texturing works out fairly decently and given the inspirations were cats and rats, whose skin tends to be loose enough to hide a lot of the muscle definition. I added some definition where it might be seen though.


  I feel certain a specular shader would really make the tongue pop. Something is needed to give it some nice, slimy gloss to sell it as an organic object, same goes for the skin itself. I'm sure with the right diffuse map I can make the tongue glossier than the body. The completion of the texture maps done however (aside from the eye but this is simple compared to the other skins) means I can put priority on the specular maps. Which might not take too long given the current state of the texture and normal maps.


Thursday, 18 February 2016

Mudbox Workshop: Final Character Design

   The final stage of the current series of Mudbox tutorials involves the creation of a 3D model using Mudbox. So far progress has been good, and I am enjoying sculpting and texturing.

  Even though mush of this model is likely to become far more blocky as most of this becomes a normal map,  it feels like an enormous step up from previous work in terms of visual quality.

   Wiith most of the scales done I plan to move on to the undersides soon, which will be a much more leather-like texture than what currently dominates the model. And after that would come colouring, this model has been PTEX-prepared and I feel enthusiastic for making further progress.


Sunday, 14 February 2016

Mudbox Workshops: Creature Design Preparation

  Much of today has been spent on things other than Adaptation B, primarily work regarding contextual studies. One thing I also planned was to try and design the above creature. However looking at the time now I might have to either cut back a few elements to save time.

  It took several days to make the character model in Maya but now I know what I'm doing this might in fact take something more like several hours. That and the model I plan to use in Mudbox will be quite basic and blocky compared to this.

Tuesday, 9 February 2016

Mudbox Workshop: Images

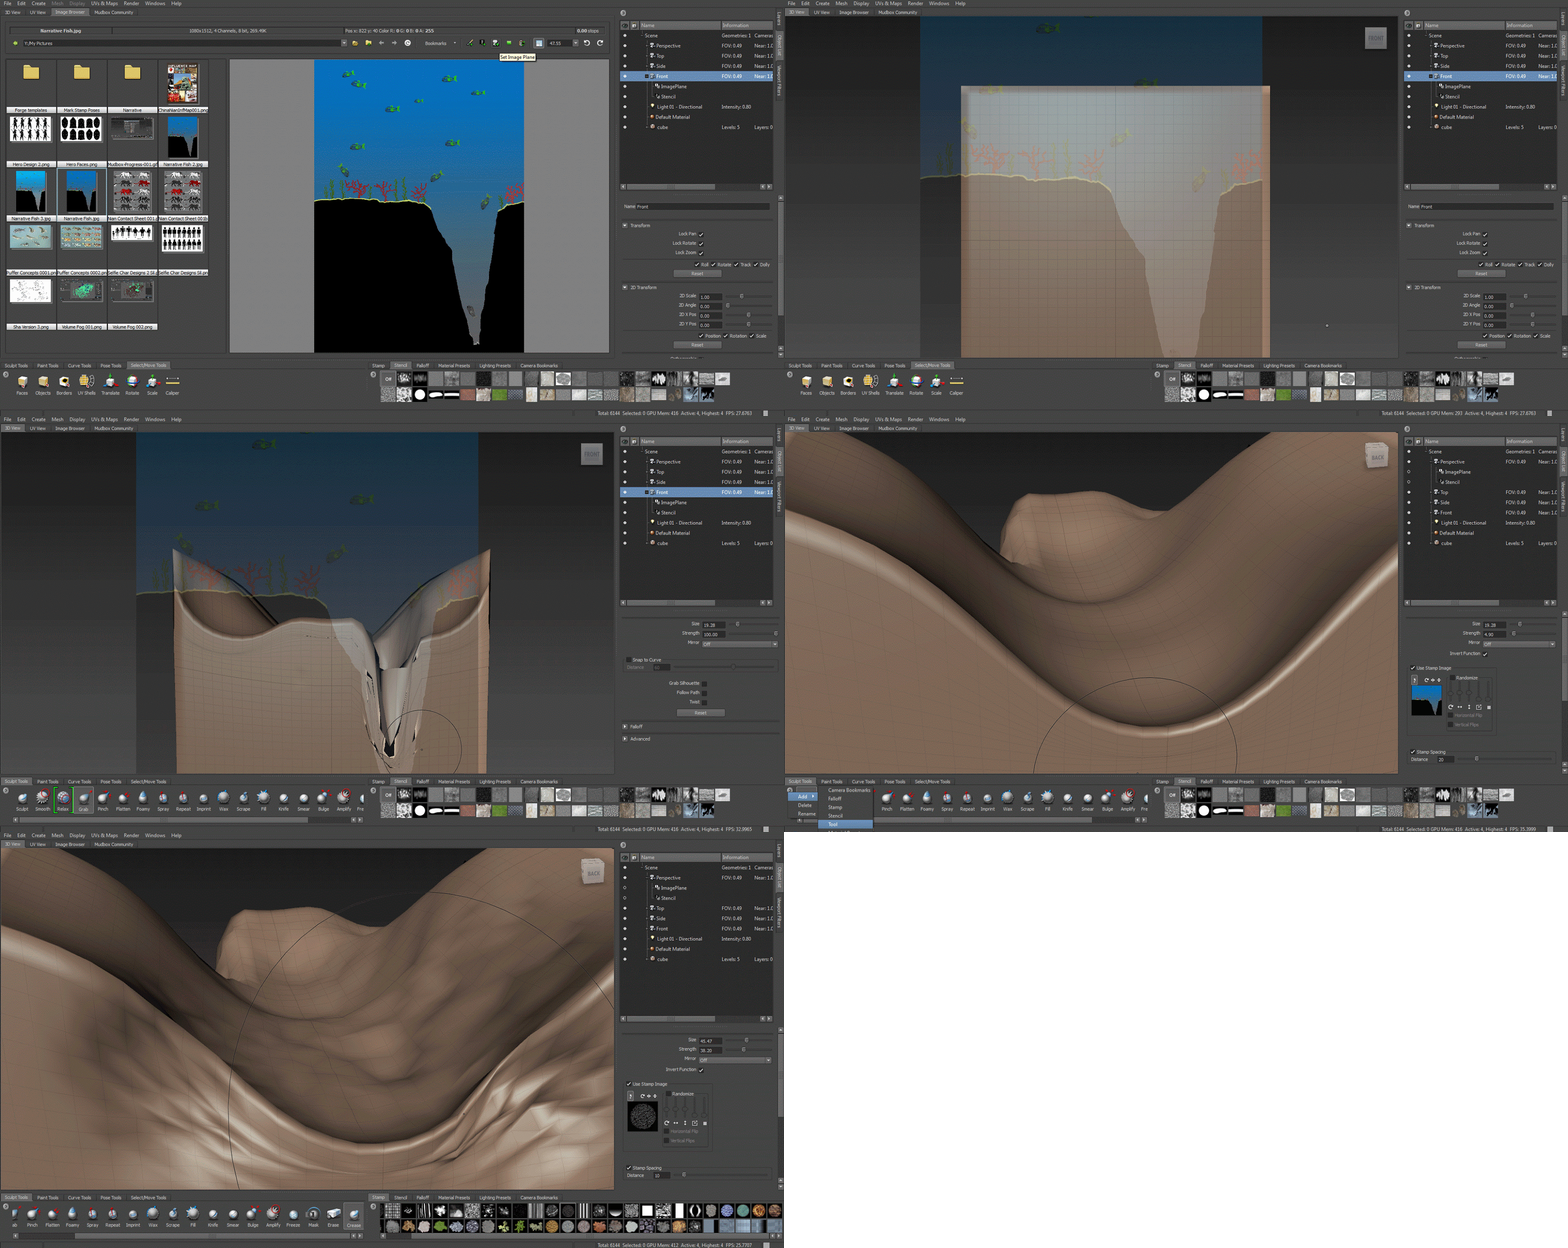
  Today's Mudbox session was on using imported images for stamps, image planes and while it was not covered the same techniques can be used to make a stencil, as shown below.


Tuesday, 2 February 2016

Mudbox Workshop: Modeling Techniques, Masks and Exporting Normals


  Today's Mudbox workshop session provided a selection of techniques designed to help with modeling and texturing, particularly sculpting masks, layers and exporting high polys as normal maps - very handy for giving human or animal skin some realism without an intense polygon count in Maya. The main drawback, as shown below, is the exported normal map can be a little intense at a bump intensity of 1 (From my previous experiences this is somewhat normal; for a lot of previous models an intensity level of around 0.1 has worked very well).

This is still quite intense as it is about 0.3 in the column where the eye is. The below image is what the high-polygon model looked like in Mudbox before it was transformed into a reference for a normal map.