Showing posts with label cg artist's toolkit. Show all posts

Wednesday, 23 November 2016

Maya Workshops: Photogrammetry


  Today's workshop was in the use of photogrammetry in order to mix computer-generated models with photographs. This technique can be used to create realistic-looking objects using photo-projection. This scene however is only a static image and the camera can't be moved to explore the scene. But it can be used to move objects though a static frame.

  I think this technique is good for showing how the setup of lighting and shadows can make something convincingly real.

Friday, 18 November 2016

Maya Tutorials: Coding with MEL


  On Wednesday I was introduced to the Maya Embedded Language (MEL) script editor. While I had some previous experience with MEL scripting though controlling visual effects, this feels like a full dive into the world of programming.


  I've been hesitant with coding in the past but in the case of MEL I get some enjoyment out of it. I might have to practice a little to get more confident but I am liking the possibilities that come from it. Maya is open to Python scripting, something that I've every now and again considered the possibility of learning.


Wednesday, 26 October 2016

Maya Tutorials: Soft Body Workshops


  Today's Maya workshop was all about soft bodies. Geometry that can be deformed though motion and influence from other objects. It is a useful tool to give objects that feeling of looseness like clothing, sand, snow or loose skin.


  It was the first time in a while I have been scripting, but I am more comfortable with the process than I was when I started last year.


Thursday, 6 October 2016

Maya Tutorials: Squash, stretch, IKs and FKs


  These tutorials I found useful, especially the IK-FK switching tutorial as the possibility exists that the creature I am designing will have front limbs that switch from using them for hands to using them for feet. Even if this might not be the case, I found both tutorials useful in terms of how to set up a model to do something specific using certain parameters.

Tuesday, 28 June 2016

Reworking the Dragon Man: Face and Feet


  Looking to get back into creature modeling so I'm making some tweaks to my Mudbox model to try a more convincing design. One of the largest changes I'd say is with the head. As this creature is a flier I had taken to the idea of adding a few avian qualities to the head to make it more streamlined and aerodynamic. 


I might add nails to the hands, but their design will be slightly different to the talons on the foot due to slight differences in geometric complexity. But this is something that will be sorted out during that construction. The current design of the foot came with a fair deal of research into the feet of birds and therapod dinosaurs, while also considering how the hands are arranged by comparison, as quite often hands and feet are anatomically similar. Proportions can be different but in a number of cases the number of digits or bones is quite similar between the hand and feet.


Thursday, 9 June 2016

Reworking the Dragon Man


  Didn't mean for the blog to become this quiet but I'm back on another project at Butch Auntie,, (thank my eagerness over opportunities for that) which means most of the day for the next couple of weeks will be is spent in Maya. Before I got stuck in I looked into reworking my dragon-man model to see if I could streamline it or generally use what I head learned making Colo Colo to improve on the design.


  I didn't spend much time as I quickly found myself engrossed in work but the progress I have made on this model so far is primarily improving the snout, eye sockets, brows, leg and tail, while also adding a bit ot the geometry and cleaning  a few things up. Unlike the previous model I also look to create a UV map for this, it might reduce the pressure on my PC when it comes to applying textures as it means I can use a standard normal map instead of a complex PTEX normal map.


Thursday, 5 May 2016

Autodesk: Year 2 Term 2 Stocktake

Dynamics


Pipeline Two


Mudbox


Sculpting Worshop: Head Progress


  I had not posted it while in progress aside from orthographs of the head, but Garrus has come along fairly well during the sculpting workshop. The only drawback I think is I made the head slightly too large, as it ended up using a lot of clay to get a finished result.


  I have considerations for finishing him over the summer, I have more clay on the way and aside from detailing and a bit of smoothing, what remains are his eyepiece and the three horns that rise from the top of his head. I plan ot stick ot slow cooking him, only 115 degrees in the oven, trying not to think too hard on the worst-case-scenario of him exploding but a low heat might help offset that risk. If he does, at least I still have a record here.


He's come out fairly close to the source design, the lower face might be slightly longer than its supposed to be as he has a very deep head. But I have sculpting tools to rectify that as it likely jsut means raising the mouth-line..


Maya Tutorials: Completing the Model Pipeline


Spent time this afternoon finishing part three of Pipeline 2, which completes the primary model-making part of the game assets pipeline.


Wednesday, 4 May 2016

Maya Tutorials: Last of the Lighting Effects


  Continuing to make progress with the Maya tutorials that have been set. The last few relating to Mental Ray proxies, diffuse maps and motion blur.


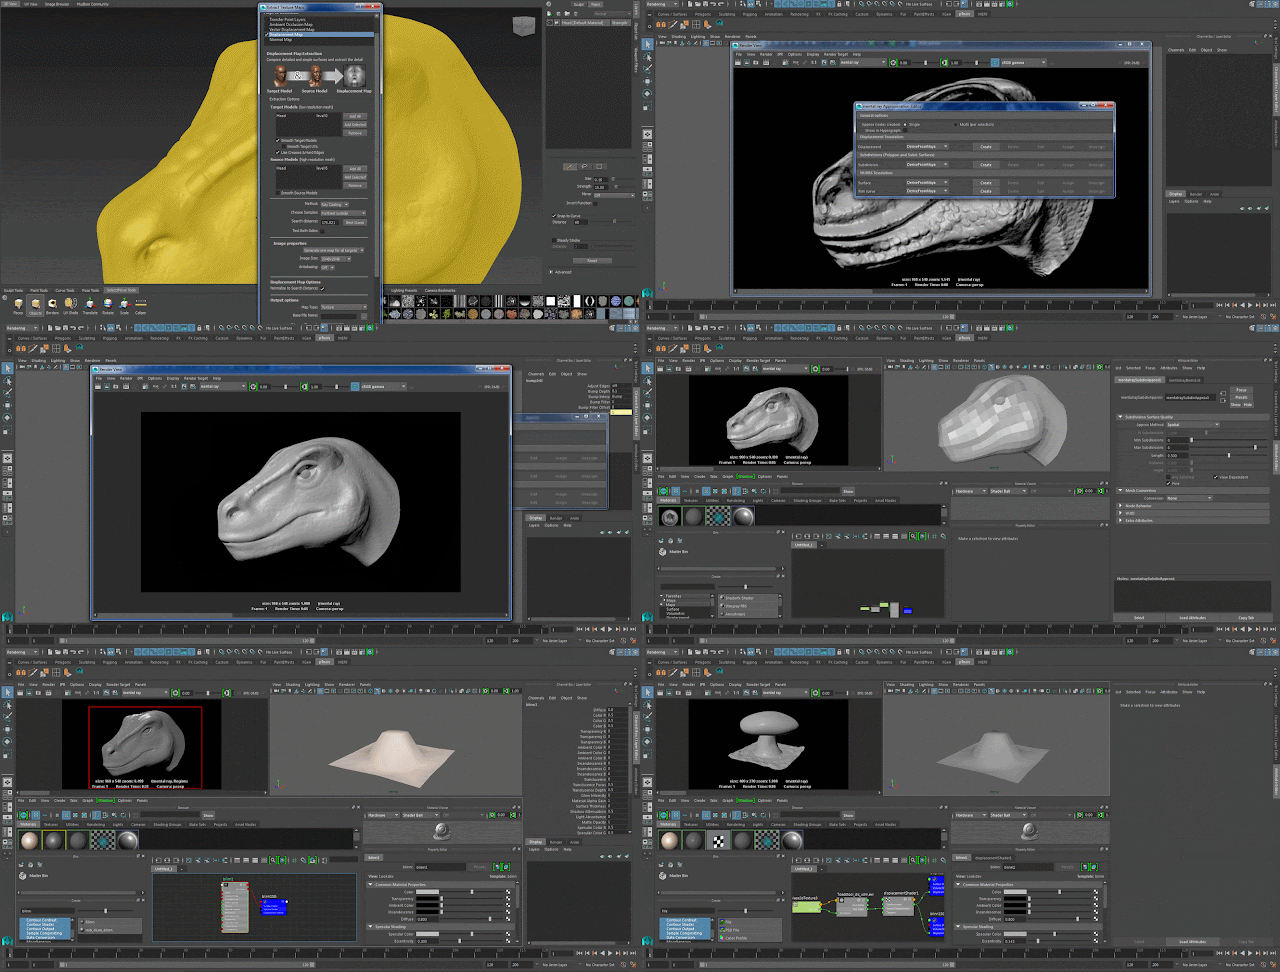
  With the motion blur tutorial, I came to realise what might have been slightly off about Colo Colo as it ran (when it was actually in motion I had suspicions it didn't feel completely natural). So I was intrigued to discover the power a little motion blur could have on giving something a natural movement. I might look into motion blur in Premiere Pro and After Effects, however I have also considered making a mini-project out of refining the creature's model, which opens up the possibility of using Mental Ray's motion blur system without needing to essentially re-render images I already have. The displacement map tutorial has also given me inspiration to return to working in Mudbox to finish a model I had come a fair way on.


Tuesday, 3 May 2016

Maya Tutorials: Mental Ray Lighting Techniques Part 1


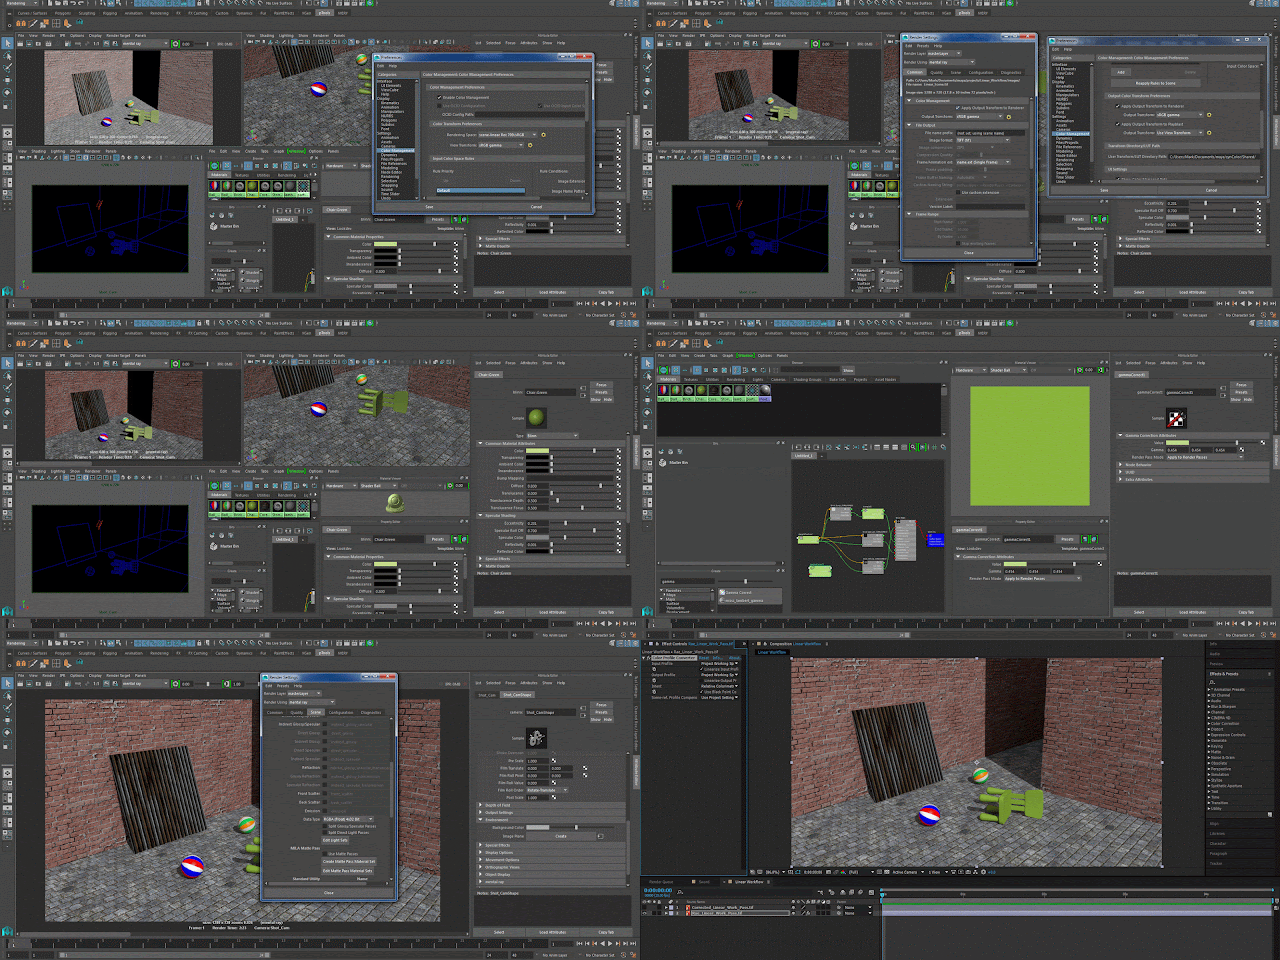
  These past couple of days I have been prioritising on getting Maya tutorials out of the way. And after a good few hours I am almost done with the Mental Ray lighting tutorials, which have helped me familiarise myself with final gather as well as techniques like portal lights, skydones. and compositing strategies to clean up images and make them look a bit less computer-generated.


  I particularly liked how this image came out using just a skydome, a pair of portal lights and the final gather feature to illuminate a bump-mapped pair of blinn surfaces..


Thursday, 7 April 2016

Maya Tutorials: Streamline Render and Final Gather v1


  Next on the tutorial list is techniques using Mental Ray. Which along with talking about final gather (which involves bouncing light off surfaces), also demonstrates using a Mental Ray shader to produce glow within renders. This glow effect, by the looks of things, is a lot more solid than the glow effects from using a normal surface-shader, which calculates a glow as a post-effect. The mai ndifference with the mental ray shader is it acts as a light source, with enough intensity it projects itself onto other surfaces as seen below.


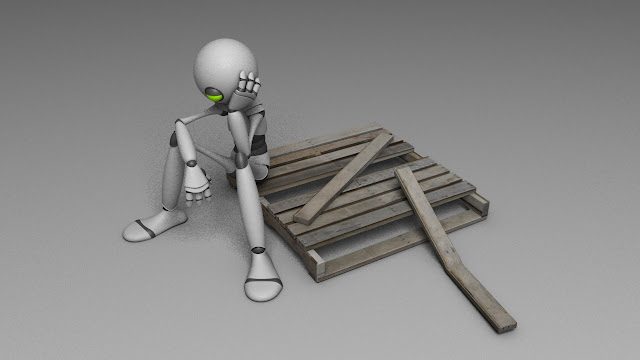
  The other primarytechnique was using legacy systems to shave time off renders. However it seems that over the Easter break (I started this tutorial jsut before), the file generated what might possibly be a bug that produces rather grainy ray-tracing shadows, so while the shadows are less intense, the depth map render provides cleaner shadows while the ray-trace feels somewhat gritty. Other attempts at using ray-tracing, on other files, turns out much smoother however.

Depth map render

Ray-trace render