Now on the final week of the Infiltrate Exploit Spread project, I felt a pressing need to construct all scenes - an ambitious thing considering everything I have spent the last nine weeks devleoping. It's slowly coming together and there are now only two major scenes that need constructing - the merozoites leaving the hepatocyte and the merozoites bursting out a of a red blood cell to spread.
I do sort of like the greenish light that the environment has - it makes the whole place feels errie and sickly, which suits the malicious nature of malaria and its rather insidious nature as a parasite.
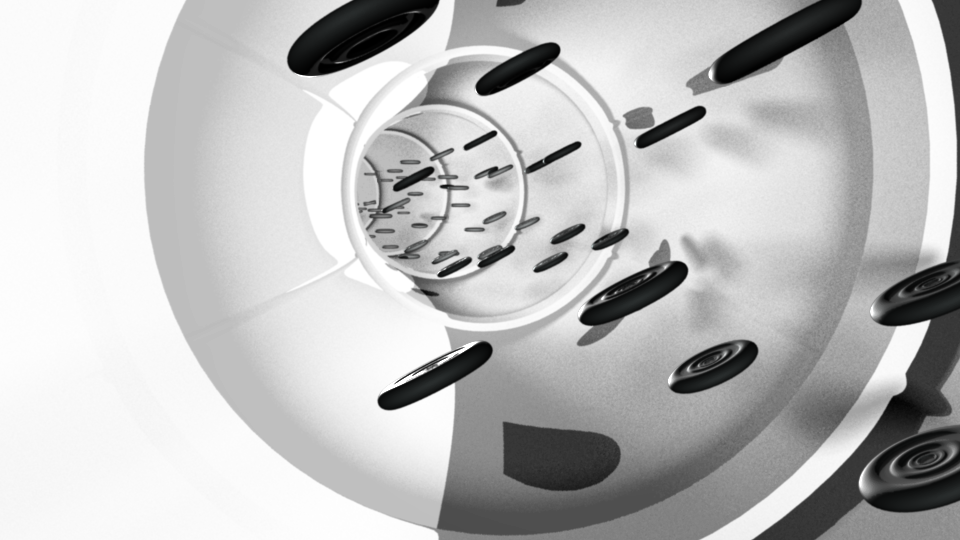
I decided the next phase was the reproduction of the merozoites inside the red blood cell. Normally they produce insite a schizont that bursts (along with the red blood cell) once it is swollen enough with merozoites, but to simplify things the merozoites reproduce within the material of the red blood cell. But the essential information is there - merozoites enter the red blood cell and reproduce until the cell swells and bursts from overcapacity.
First pass felt a little too artificial so I decided to step it up by giving the merozoites some motion, in this video they move in a circuit path inside the red blood cell.
I considered the idea that to best display the reproduction the cross section could be via an x-ray scan, which would also allow me to render it in a separate scene file. It's likely that when it comes to bursting, not all of these merozoites will be seen coming out at once.
This is what the interior will look like when it is close to bursting. In the playblast I used a basic transparency shader in order ot show what was going on inside during the pre-vis stages, as the x-ray shader is opaque in the workspace due to using a ramp shader to define the opacity.
Then I thought "I'm making a science fiction piece, I don't have to stick to hospital scrub green", so I looked into using two shaders - one for the red blood cell and one for the "hostile identified" merozoites. Render times for these frames (at 50% resolution) appear to hover around the 1:14 mark. So despite all the geometry render times don't seem too bad compared to everything else I have made so far.
I did some editing on the Mosquito's animations. I'm not sure what happened during encoding to compress the video at the sides the video like this but I suppose it's not too bad as the essentials of what I want ot convey in the video remain in there. The 1920x1080 resolution is still on my computer so at least I have the undistorted version on record.
This animation was rather fun to do, especially the initial approach there the mosquito adjusts itself as it prepares for landing, something helicopters and VTOL jets to to align themselves ready for landing. It took a little tweaking to make sure the corrections didn't look like the pilot was having trouble keeping the craft steady.
1
2
The model's textures are still, unfortunately a work in progress, but after liking the results of the chromed blood vessel tunnel I decided ot investigate doing similar with the legs of the mosquito to reinforce a metallic look. I was also drawn to the idea of a reflective cockpit window though with that oen I am considering toning down the reflectivity to keep the window dark. One advantage though is that I have less that needs being given a texture map
3
4
I also tried tweaking the direction of the light, although I do feel that the initial angle allowed the viewer to see more.
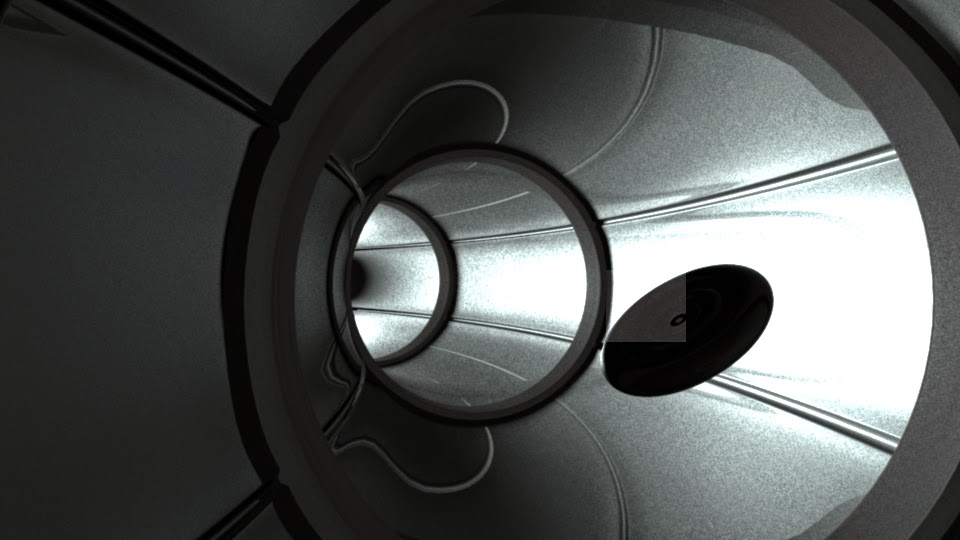
It took longer than I thought it would to construct this stage, largely because of my attempts to perfect the workings of the light that would come out of the hole that would open up to let the merozoite inside. My mai nconcern so far is that due to the present tunnel setup, it is somewhat dark in the renders that include the environment. To alleviate it I could add a light that focuses on this one object pairing, a dim one, so as not to interfere too much with the present highlights. The source of it is likely because the red blood cell is facing the wrong way to the spotlight that illuminates the far side of the tunnel (which this thing is approaching)
1: That's not really supposed to happen, but easily fixed by keyframing the light.
2: Lighting with nothing really inside save for a spotlight or an area light doesn't appear to work very well.
2: Added a surface shader to a flat square underneath the opening but this is far too bright.
3: By lowering the out colour and out glow colour I can have much more control over the light's intensity
4: By changing the out glow colour to 100% red I get a very creepy red glow from it.
5: The slight downside is that the surface shader doesn't appear to render the light that may come from regions invisible to the camera
6: Restored the area light underneath to answer my issue but the stoppage point is too sudden.
7: Like with the surface shader, by altering the intensity integer and the light colour I can get a more gradual light.
8: Still got the issue with "light bleeding though the hole" but this was fixed by turning it off.
9: Sinister light, which would be white at this stage in the final render.
10: A nice creepy red light as the merozoite prepares to settle in
11: The initial light would be white, but would change after the Merozoite goes some way inside.
Looking to refine the Mosquito Approach clip I added a camera and gave it some motion along with refining the Mosquito's motion path (it was a little wobbly in places). I thought it might suit the "airborne approach" feel if the camera glided with the mosquito's journey, along with a bit of shake to get the feel of the speed and power of the mosquito as it heads towards its target.
Took some effort to get there and there's always room for improvement but here is my planned animation for the phase where a sporozoite enters the liver cell in order to create merozoites.
Trying out depth of field and reflection in Maya to bring focus to the Sporozoite. The only thing I'm not so keen on is the black outline around out-of-focus blood cells although this might be to do with the relative darkness of the environment they're inside.
Admittedly, in an atempt to alter focus for the tunnel and the blood cells, these two pictures ended up quite similar to each other.
This was the origina lreflection level, but I wasn't so sure due to the intensity of the ligth on the right-hand side. The images above this one are the same image with the transparency of the layer toned down to 60%
Taking a break from texturing the mosquito I decided to construct the animation parameters for when it lands. The landing impact could probably do with a bit of work but for the most part it seems fine. Though I definitely think I need to refine the "oomph" it delivers when it lands.
Basic composition of the first full scene for the animation "Infiltrate Expoit Spread". I might retouch the sporozoite but the contrast and the blackness of it I think adds to how sinister it is.
I am contemplating adding a depth of field layer, which will come into play when the Sporozoite appears in order to bring it into focus.
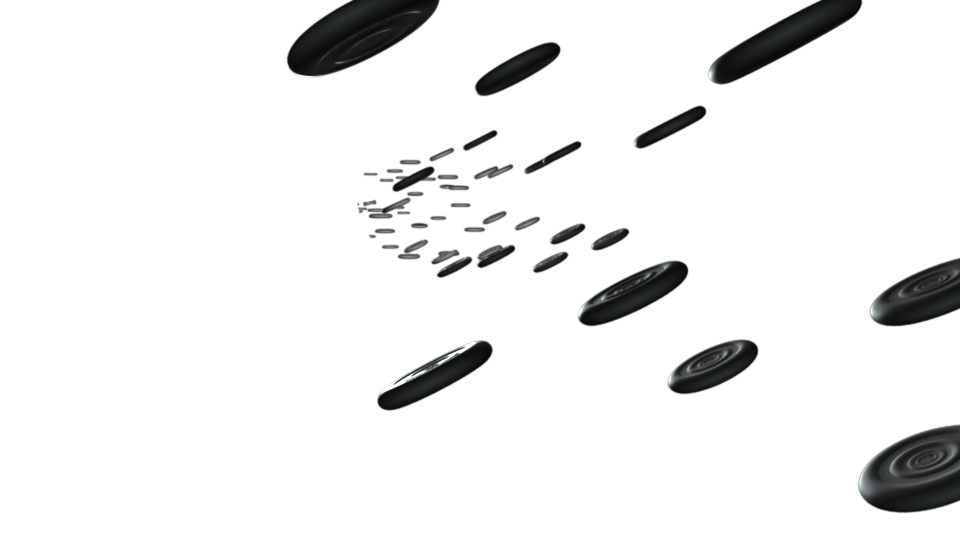
After some trial and error I think I have cracked how to cleanly separate the two pieces of my current composition so that I can render out the blood cells moving while also putting the background on a separate layer so I can give off the illusion the cells are passing behind something not there.
First test purely using a basic "use background" shader, didn't go so well.
Tweaking the render settings so that it would be visible and traced but not produce shadows.
A combined image that includes the picture above and a shot of the tunnel.
Seeing how the tunnel turned out I do think I need ot tweak the lighting a little to add a hint of colour and vibrance.
I'm on my way with animating the blood vessel tunnel. Where I have sets of six blood cells running on a track over. Despite the complex mirroring and the number of polygons, this frame took 2 minutes 36 seconds to render at 50% resolution and quality.
However as shown by the outliner this scene is quite cluttered with overlapping EP curves which I figure I can remove and have the attached blood cells attached to one set of EP curves, The cells are also quite jittery which is something I will also need to fix. This might as well be a rework though.
My plan is that once these blood cells reach the end they will switch into lower-res models in order to save processing time.
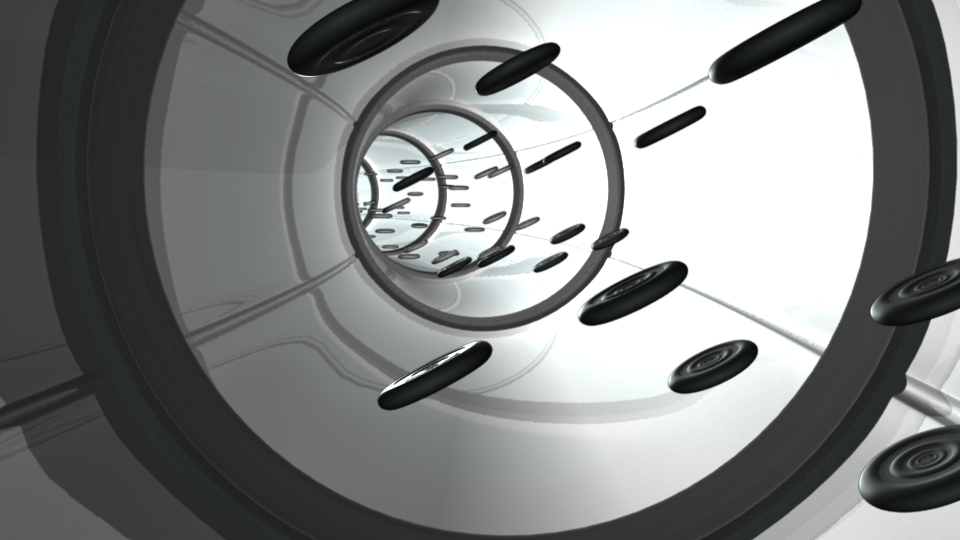
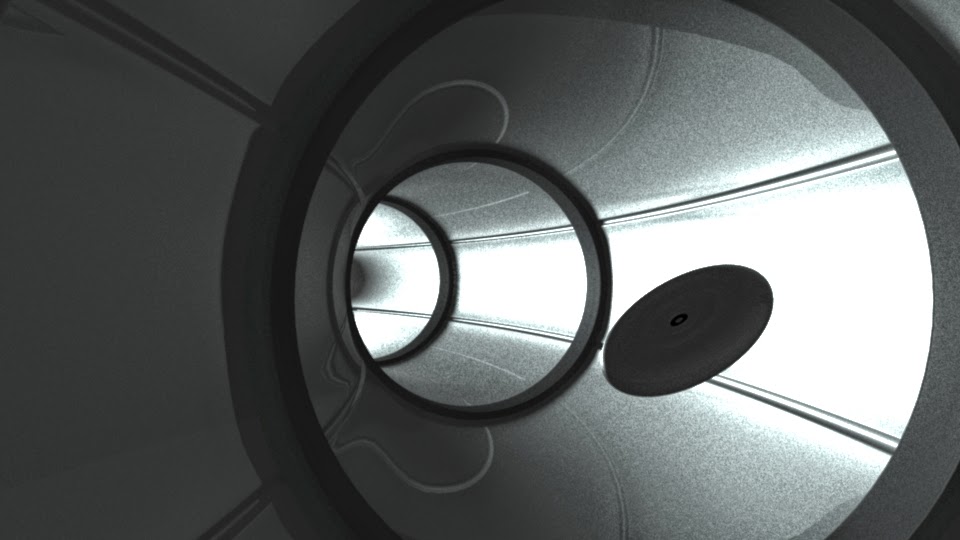
It was suggested to me that I should find a way to make my materials look more like metal. Taking this advice in hand I experimented with a chrome shader to get a metallic look.
First use was...not great, a lot of depth but far too much contrast
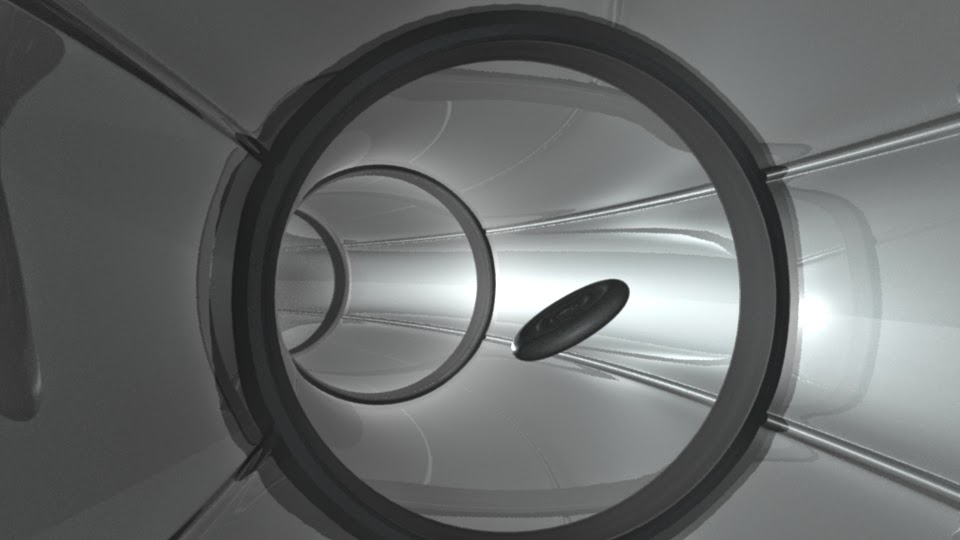
Managed ot clean a lot of it up but I still wanted to go further.
I added a light behind the camera in an attempt to illuminate the blood vessels that would travel down it.
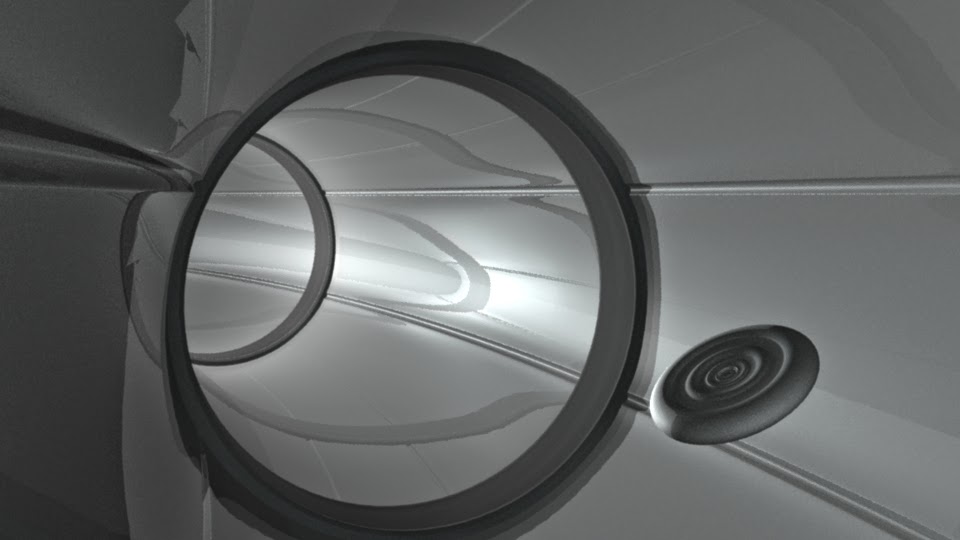
I wanted to tone down the hotspot dominating the right-hand wall so along with the second spotlight I added an ambient light and toned all the other lights down
Wasn't entirely satisfied so I tweaked the specular intensities of the shaders
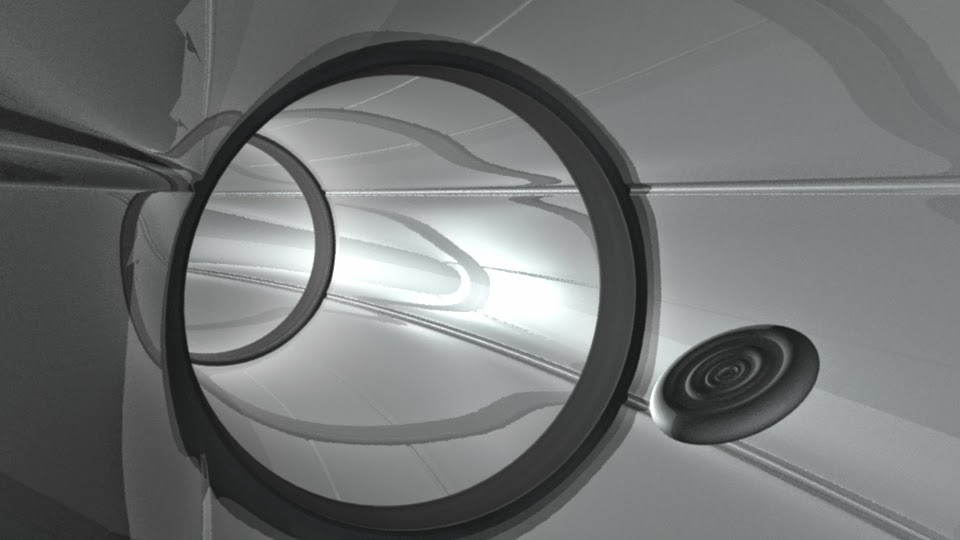
Okay now I think I am on the right track.
I think it was a very good decision to look into the chrome shader as it has given me some very satisfying results. Adding a second light I think has also helped bring everything out as it has given me extra rim highlights.


