Showing posts with label lighting. Show all posts

Friday, 3 May 2019

Baths of Caracalla and the Long Overdue Progress Update


For the past month, much of my energy has been on the development of the Bathhouse of Caracalla. An elaborate bath spa complex completed in Rome under the emperor Caracalla by around 216 AD. This enormous complex served as a communal bath house for the City of Rome, but it was so much more; it had the typical setup of three bath rooms but also a gymnasium, libraries and was surrounded by avenues of shops that would have sold everything from fine linen to freshly cooked snack food.


  What got me most interested in this project was the opportunity to design fine architectural features. Decorated composite Ionic-Corinthian columns, veneered marble, columns both structural and decorative, expansive layouts and grand hallways covered in recessed stonework. It still feels like I have only started but the layout so far is already looking rather beautiful.

And that's not even getting into possible props for the location like water, incense burners, oil lamps, potted plants, tables, benches, seats, the list goes on!


  I found myself reintroduced to xNormal, a piece of software for converting 3D geometry into 2D maps for lower resolution models. While still possessing some shortcomings, I wouldn't have close to the level of detail I have managed to push out of this project without it.My PC, and any potential rendering engine, could have overloaded with the amount of detail required to make this project even remotely convincing.

If it wasn't evident already, one of my favourite parts has been the columns. The capitals were initially a by-eye estimation, but after doing research into the carious types of columns I realised there was much more to them than any old fancy decoration. There was an artistry to the classical column which I needed to replicate.


  Without xNormal, these columns couldn't have been as detailed as they are. The same can be said of the terracotta roof.A large building would require many terracotta tiles, but individual instances of these could have been a nightmare to visualise on even a high-end PC. With xNormal I have been able to simplify the geometry by a huge margin. Still rather detailed, but to a degree that is much more manageable.


One of the advantages to the symmetry of classical buildings is a lot of what is featured on one side of the building is present down to the last brick on the other side. I find this does cut down my workload, as I only need to worry about once side of the building. Bring that up to a high standard and I can then swap everything over on the other side.


  There is still quite a lot to do. What I have been thinking for a while however is to bundle many of these elements into kits for sale on ArtStation so other aspiring artists and architects can use them for their own architectural projects. The common elements like pillars, walls and ceilings should be easy enough to bundle together. I am still deciding however if the roof tiles would be a kit on their own or if I combine them with the wall and column kits. If anyone is in need of the geometry for a Roman style non-reinforced concrete dome I would be happy to oblige!


  The more I finish though, the more I feel there is more to do. This has been an interesting project so far, but the itch to move on to something else is starting to set in. When I showed a friend a block-out for a mountain palace I had sketched out a couple of years ago to alleviate some fatigue, he thought it would be a great showcase for level design. I might do the same to keep things fresh and avoid the onset of single-project focus fatigue.


The real baths of Caracalla took some five or six years to build with hundreds of labourers working and stone from across the Empire (Egyptian marble was one prominent material) hopefully me all on my own doesn't take nearly that long to complete this rendition of a major Roman landmark.

Friday, 5 May 2017

Four: Lighting Continues


  Lighting setup for the main room is almost done. I plan to transfer the setups that have been created  (as well as a few of the assets that needed their UVs improving) to the other scene files in order to save time as the rooms do not change that much.


  To save on materials, some texture files were combined using a layered texture plugin that with some alteration to the UV layouts allow for multiple models to use one material easily, saving on using repeat materials and repeat colours. Getting a better handle on the surface shader also made its installation much handier, and the effect I can get out of it feels much more natural.


  Like with other assets, the lights will need to be grouped with the model, so that when the scale of the model changes, they change to remain in place. What I'll still need to keep in mind is how much will the various lights change as they are re-positioned and re-scaled. A final outcome is close, just a little more time and attention needed and I should be ready to start on final compositions.


Thursday, 4 May 2017

Four: Corridor Lighting


  Much of yesterday was spent on animating some of the final scenes, which means that to an extent, act 3 (where we see the adult) has a functional set of animations.

  So today's priority was lighting. This however turned into more work than I initially anticipated as in order to shave off render times I considered looking where I could optimise my scene. Presently my shaders were monochromatic - I would create a single shader for a specific colour, but this proved inflexible and I ended up building up a number of shaders with the same settings just different shades.


  I was able to replace some of the shaders using maps created in Photoshop, which I am considering fleshing out with textures to make the materials feel more like real materials and less like plastic. While other materials use a blinn, the white panels use a mila shader textured to come across more as leather, using similar properties to Four's skin due to leather's properties.


A warmer grey for the bulk material of the corridor appears to work more with the aesthetic I am aiming for. Aside from a number of hot-spots, the lighting in place (area lights positioned opposite each other) works to fill out the scene.


Strangely the frame above took considerably longer to render than the corridors, Four's teeth also appear to be reflecting the light of the surface shader used to represent the sunlight. I could disable it for when the camera switches to this shot as the effect is almost obliterating the sight of her teeth.

Thursday, 23 March 2017

Four: Juvenile On Display


  The adult is almost ready for her appearance in the pre-vis, while I worked on her I decided to create a quick turnaround for the juvenile state which textures aside is about finished. Lighting might take some playing around with as without an ambient occlusion node she appears quite dark but with some clever use of light-linking I am sure I can work around this as the model receives well-aimed directional lights very well. 


  I am quite happy with how the rig turned out. The controls around her eyes and for her tongue give some beautiful possibilities. I suppose while there is still some human-ness in her eyes, it works for her, that "glimmer of intelligence" as people say.


Monday, 6 March 2017

Four: A Return to Work and Development


Returning from a hiatus refreshed and ready to continue, I'm moving along with the essentials of the project. UV maps have been cleaned up and most importantly for the model, the walls and floor have been separated from each other.


  Together they felt too much like one combined structure, separating it out made it easier to define where they met. After a discussion that it might be inappropriate for Four to be raised in the same room as plants were studied, I set up a system that would effectively 'switch' between a plant lab and an animal biolab. To control the switch, a control was added over the room, in later stages this might be used to switch between the stages of progression. Multiple states would exist on one spot that can be set using this control.


  Separating out the walls, ceiling and floor also allowed me to develop cleaner geometries for these large surfaces. Much of the more dense geometry was due to the edges used to hold the geometry around windows and doorways in place. With these more separate, the layouts for the floors and ceilings could breathe more.


With the rooms set up and the distinctions made, I also set about reworking the camera to make better use of the new layout and serve as a foundation for what objects to place and where, and where in the lab might be seen. At present, only David's first recording and Amelia's first message have been matched to a camera but I'm sure more will quickly come over the coming week or so.

Wednesday, 15 February 2017

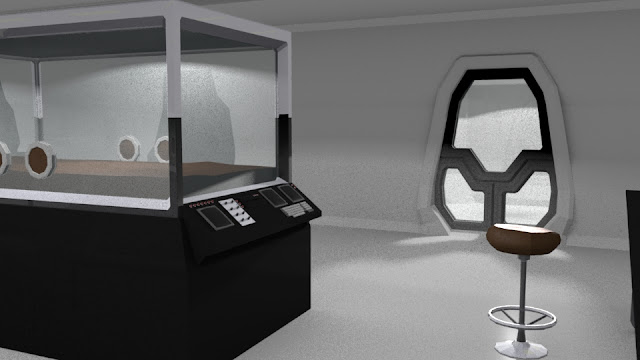
Four: Lighting the Biolab


  As well as completing the incubation chamber today, I thought I might play around with lighting.


  The biology branch of the lab will have several incubators. In the middle will be tables for scientific apparatus, clutter and research notes.


  I find that using a spotlight (below) provides a more dramatic light than using an area light (above) as the light created is much more confined. The spots on the roof see ma little off.


  What the spotlight appears to produce well however is a light from the isolation unit. Creating a stark shadow of the unit's doors. The light inside is confined by being made unable to pass through the glass, the light created from the door is being produced by a more specifically-aimed spotlight to preserve the strength of the light. I may need a third light however to illuminate the rest of the room. This trick can be used in other areas where the light may be different ,such as the adjacent office or the corridor - two shafts of light projecting themselves on the wall opposite the windows looking out into the darker corridor.


The new arrangement of the lab is going to mean some changes to the movement of the camera as it navigates the room. With proper lights in the room I can experiment with how to portray the glass.


  Some time in the past few days was also taken to sketching some posing research, how Four might move as she walks, runs, and a few minute movements that would sell the character..

Wednesday, 4 May 2016

Maya Tutorials: Last of the Lighting Effects


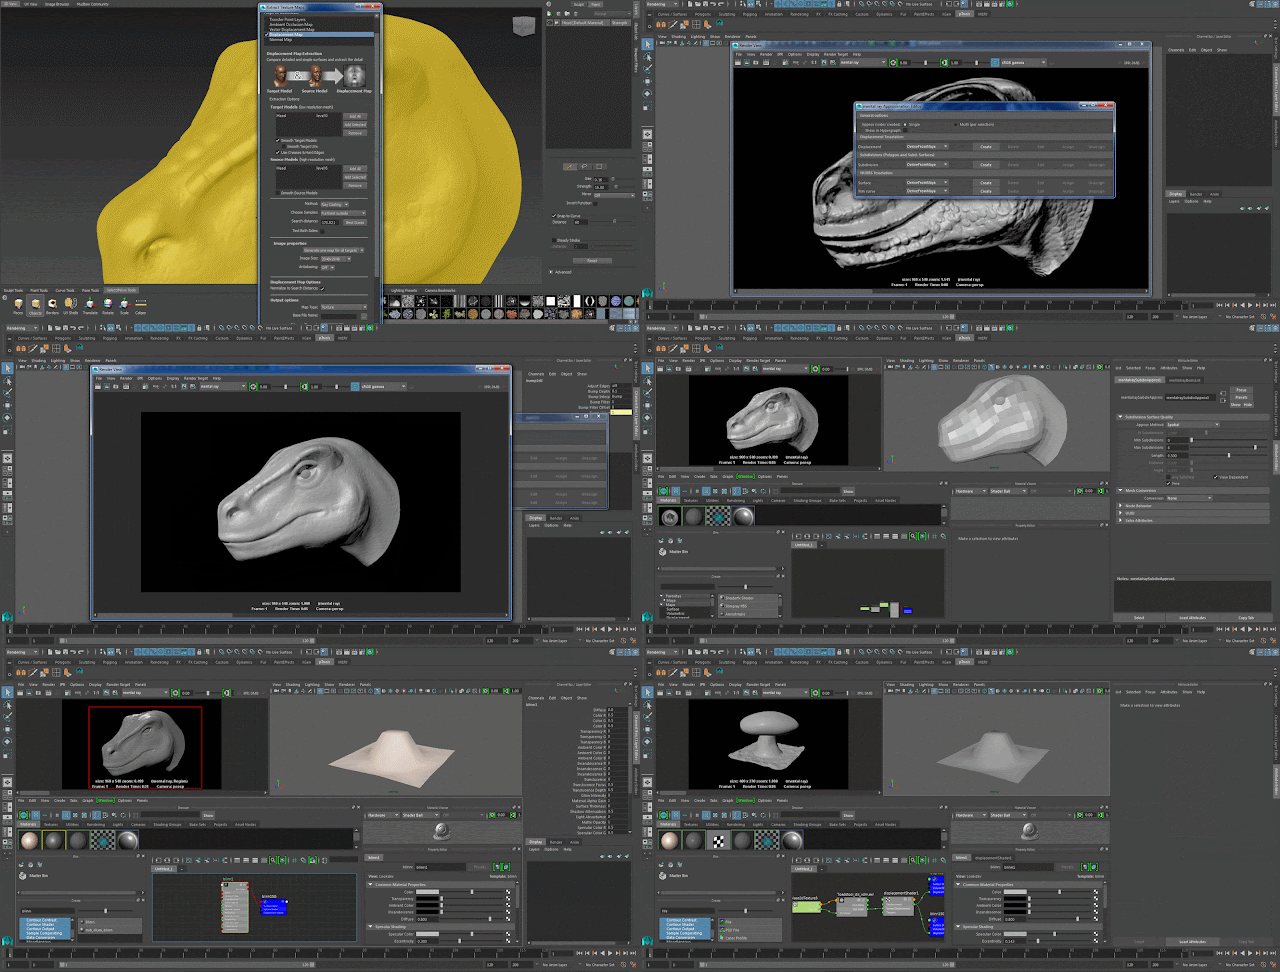
  Continuing to make progress with the Maya tutorials that have been set. The last few relating to Mental Ray proxies, diffuse maps and motion blur.


  With the motion blur tutorial, I came to realise what might have been slightly off about Colo Colo as it ran (when it was actually in motion I had suspicions it didn't feel completely natural). So I was intrigued to discover the power a little motion blur could have on giving something a natural movement. I might look into motion blur in Premiere Pro and After Effects, however I have also considered making a mini-project out of refining the creature's model, which opens up the possibility of using Mental Ray's motion blur system without needing to essentially re-render images I already have. The displacement map tutorial has also given me inspiration to return to working in Mudbox to finish a model I had come a fair way on.