Tonight was feeling a bit more productive than last night so, after getting Maya installed on my home computer I thought I'd have a go at using it and seeing how well I got on with it. So I browsed the CG artists' toolkit provided by Alan and decided to have a look at some of the tutorials. Since I was in a bit of a pickle in class on how to do anything but pull the shapes or make the bad kind of random mind-expanding geometry I decided to look up the tutorials to see if I could get better.
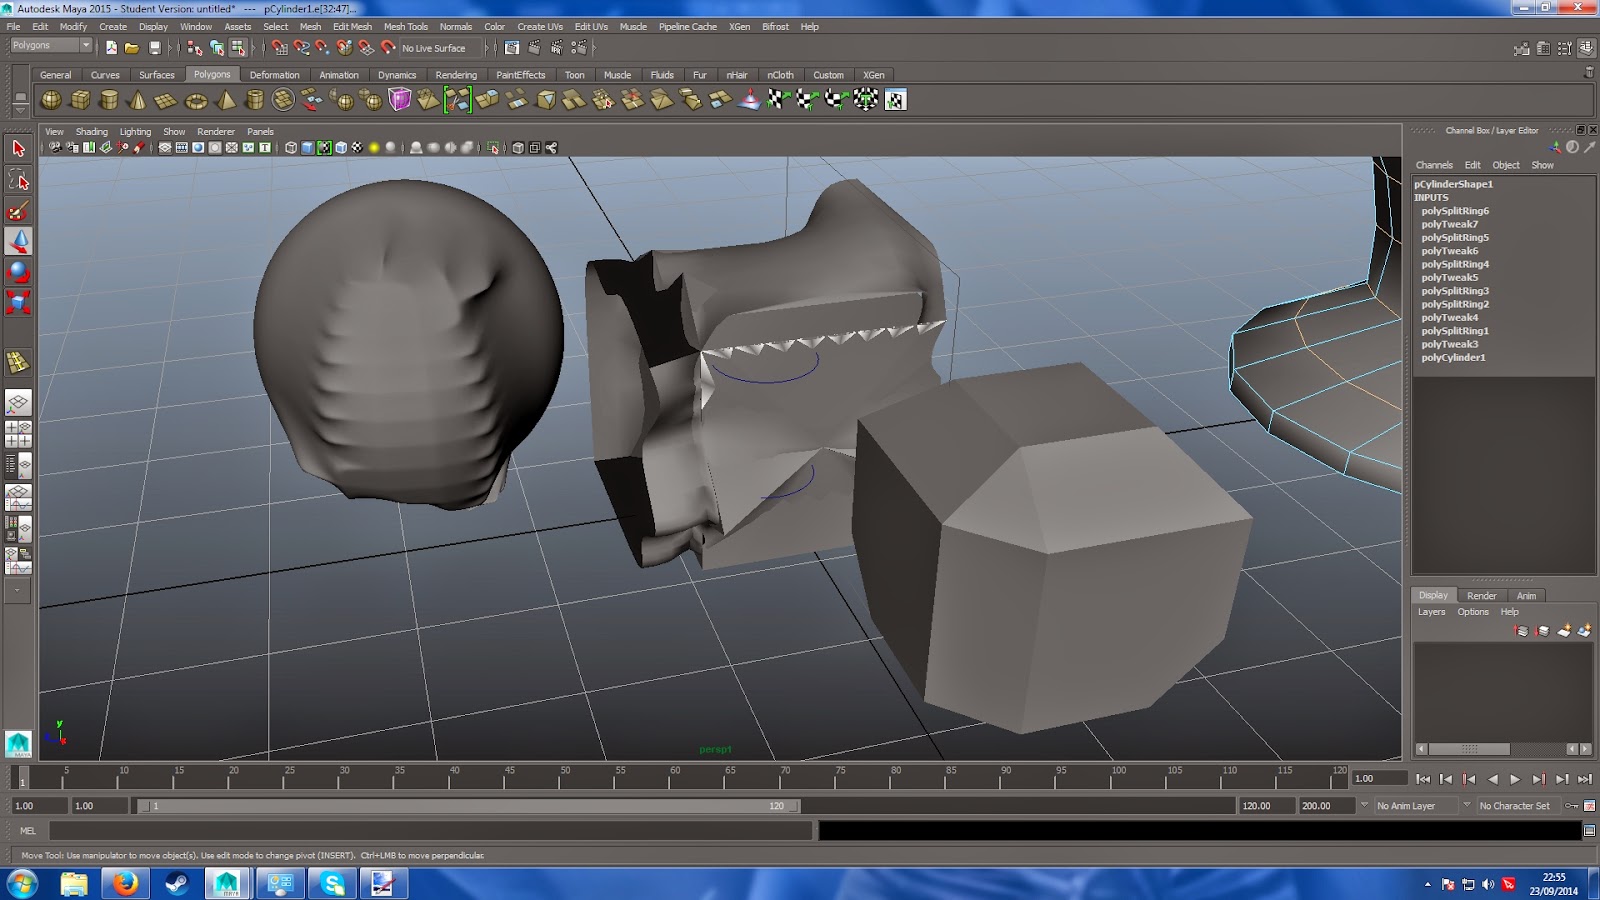 |
| By the end of my first Maya session this was probably the best I could do... |
|
|
|
|
 |
| Originally a rundown on the difference between NURBS, polygons and subcompoonents, I decided to follow the step-by-step guide of how to make a cup with a polygon. |
 |
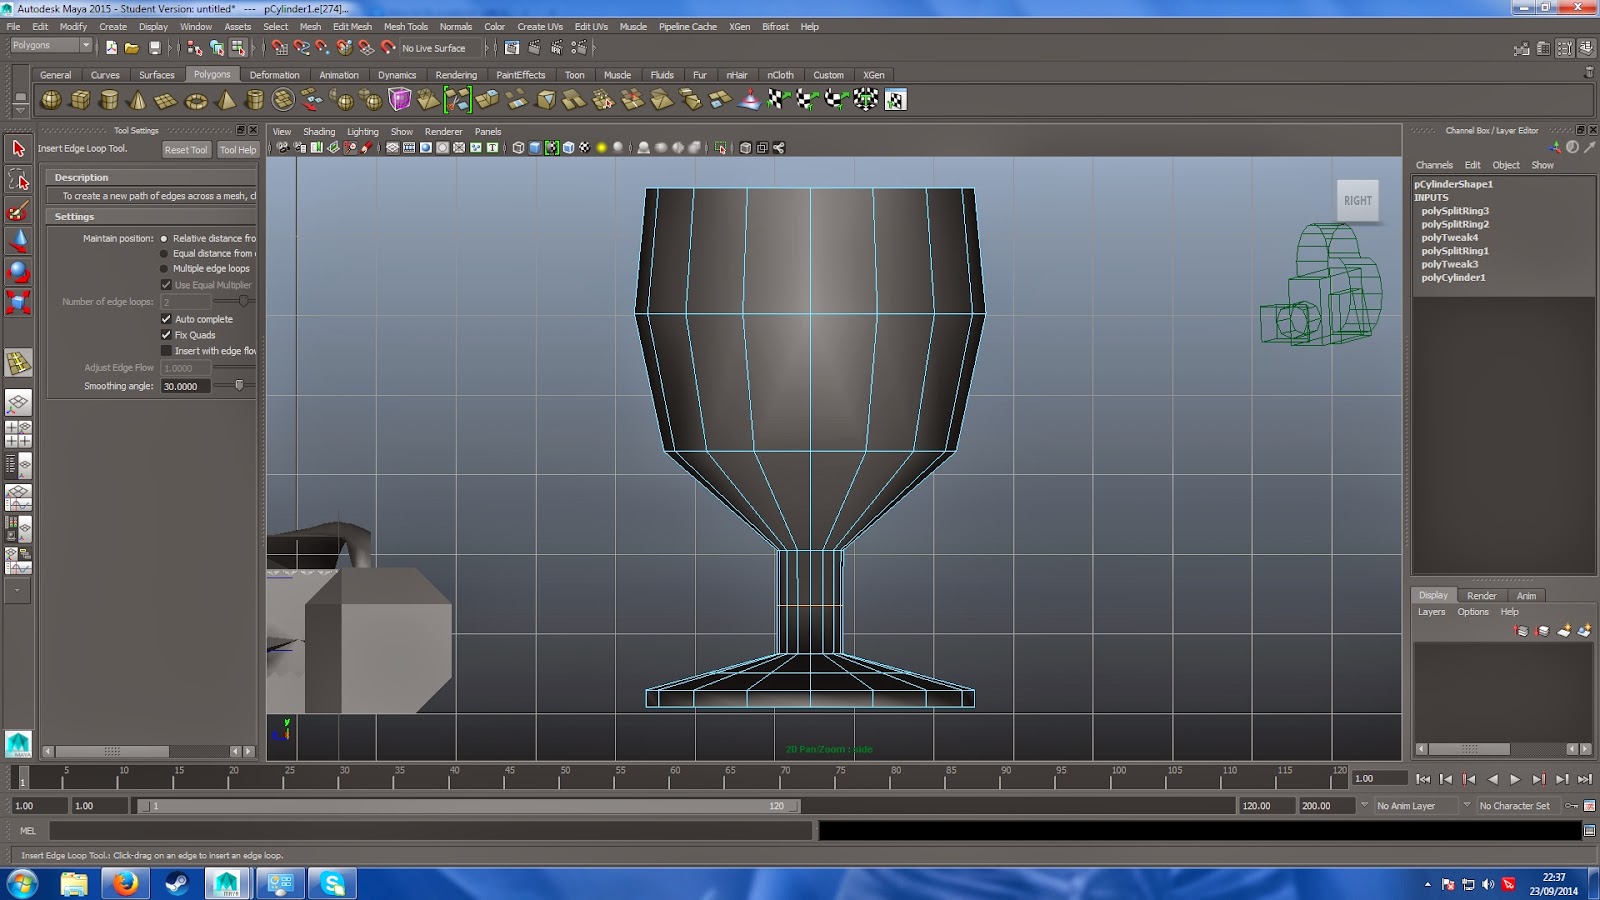
| So the simplest of acts aside from creating a basic shape was using the
"insert edge loop" tool. That combined with double-clicking on lines to
create the framework did feel somewhat therapeutic. |
 |
| Next step was transformations and scaling, which sometimes got a little fiddly. But I pushed on and worked out what to do. |
 |
| Shape is coming along nicely for my first ever proper Maya model. I think I was getting the hang of it by this point. |
 |
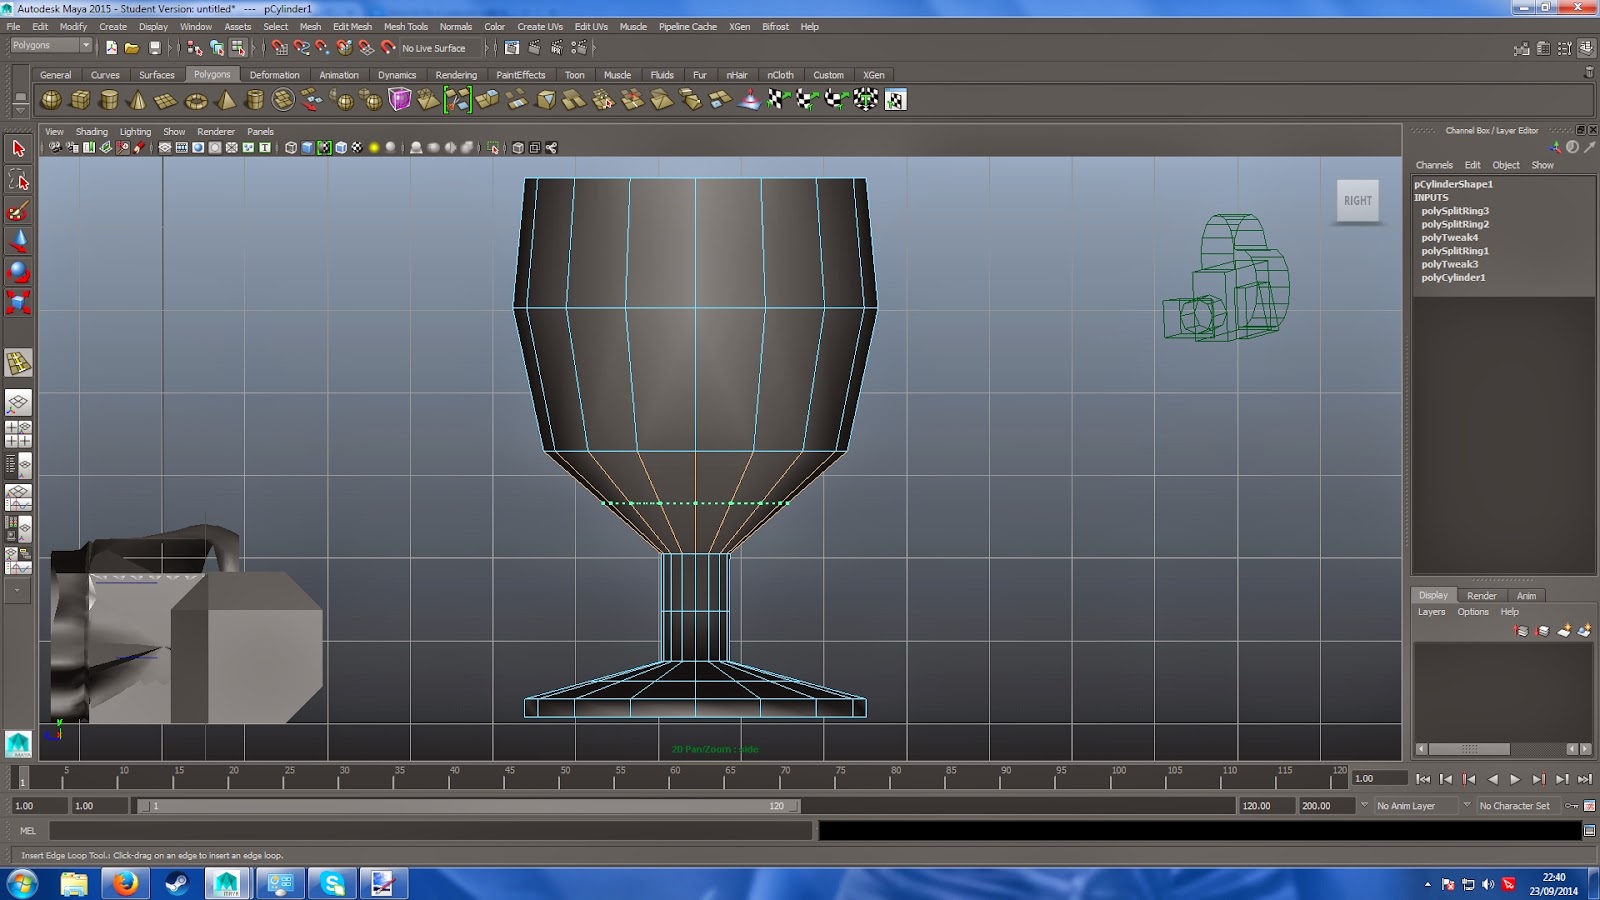
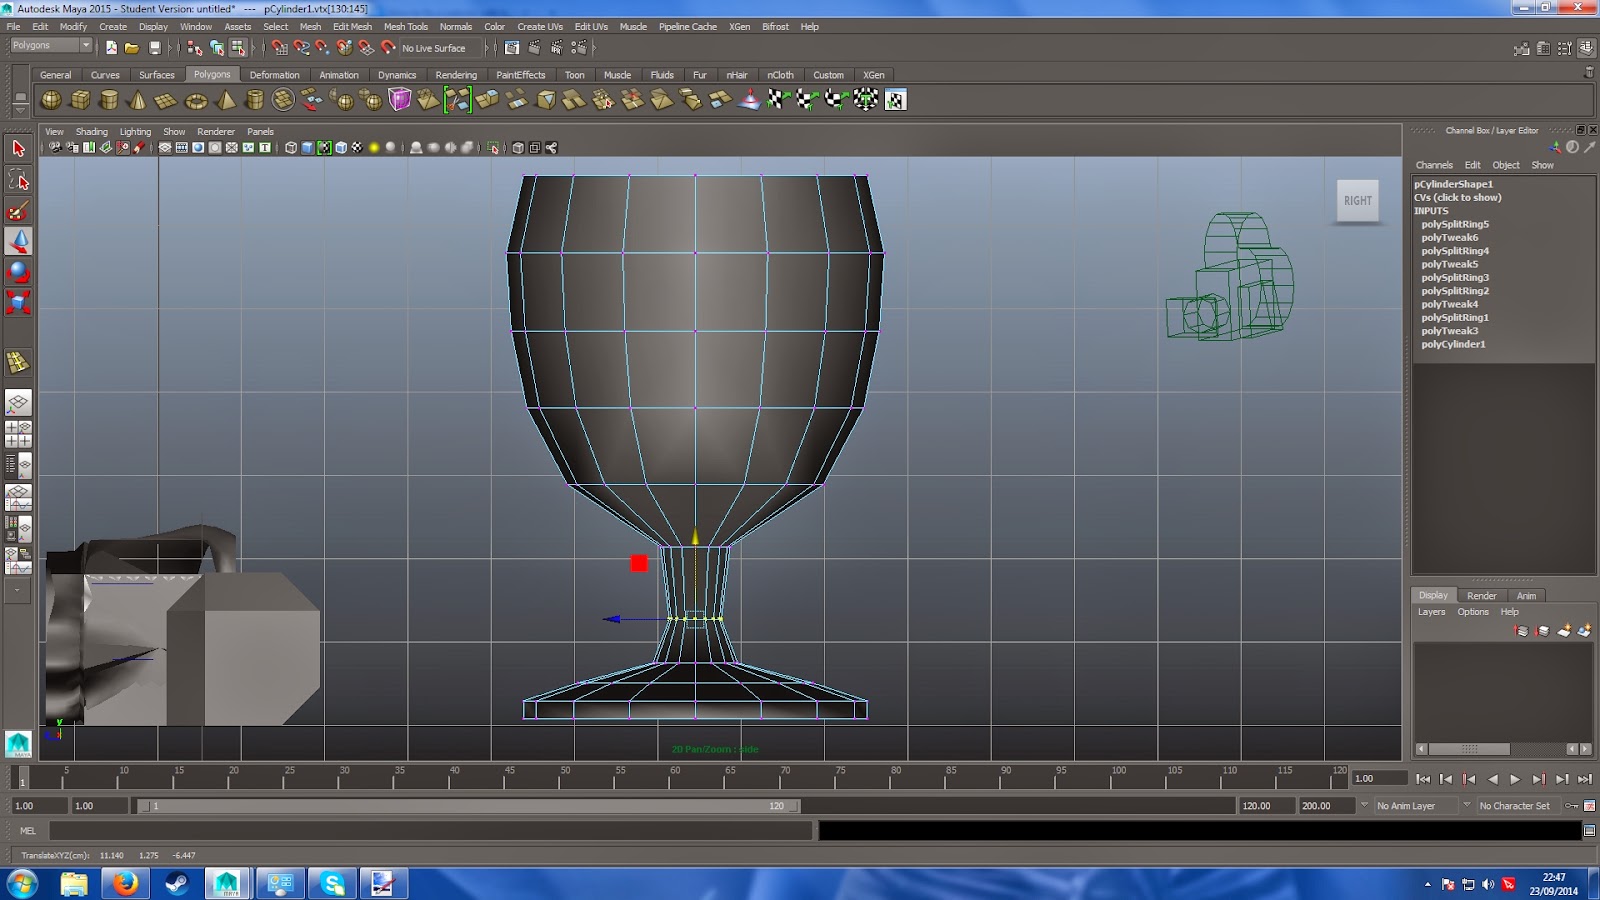
| ...Then I went back into perspective mode. I felt like I had screwed up and didn't know somewhere along the line. After a bit of tweaking I realised I must have mis-moved a few transformations so somehow the neck ended up stretched really far. Still, it was only on one axis that it happened so I figured I could fix it. Double-click the furthest edge ring and drag it back. Once in line with the next ring I shift double-click to select the rings and pull them too. |
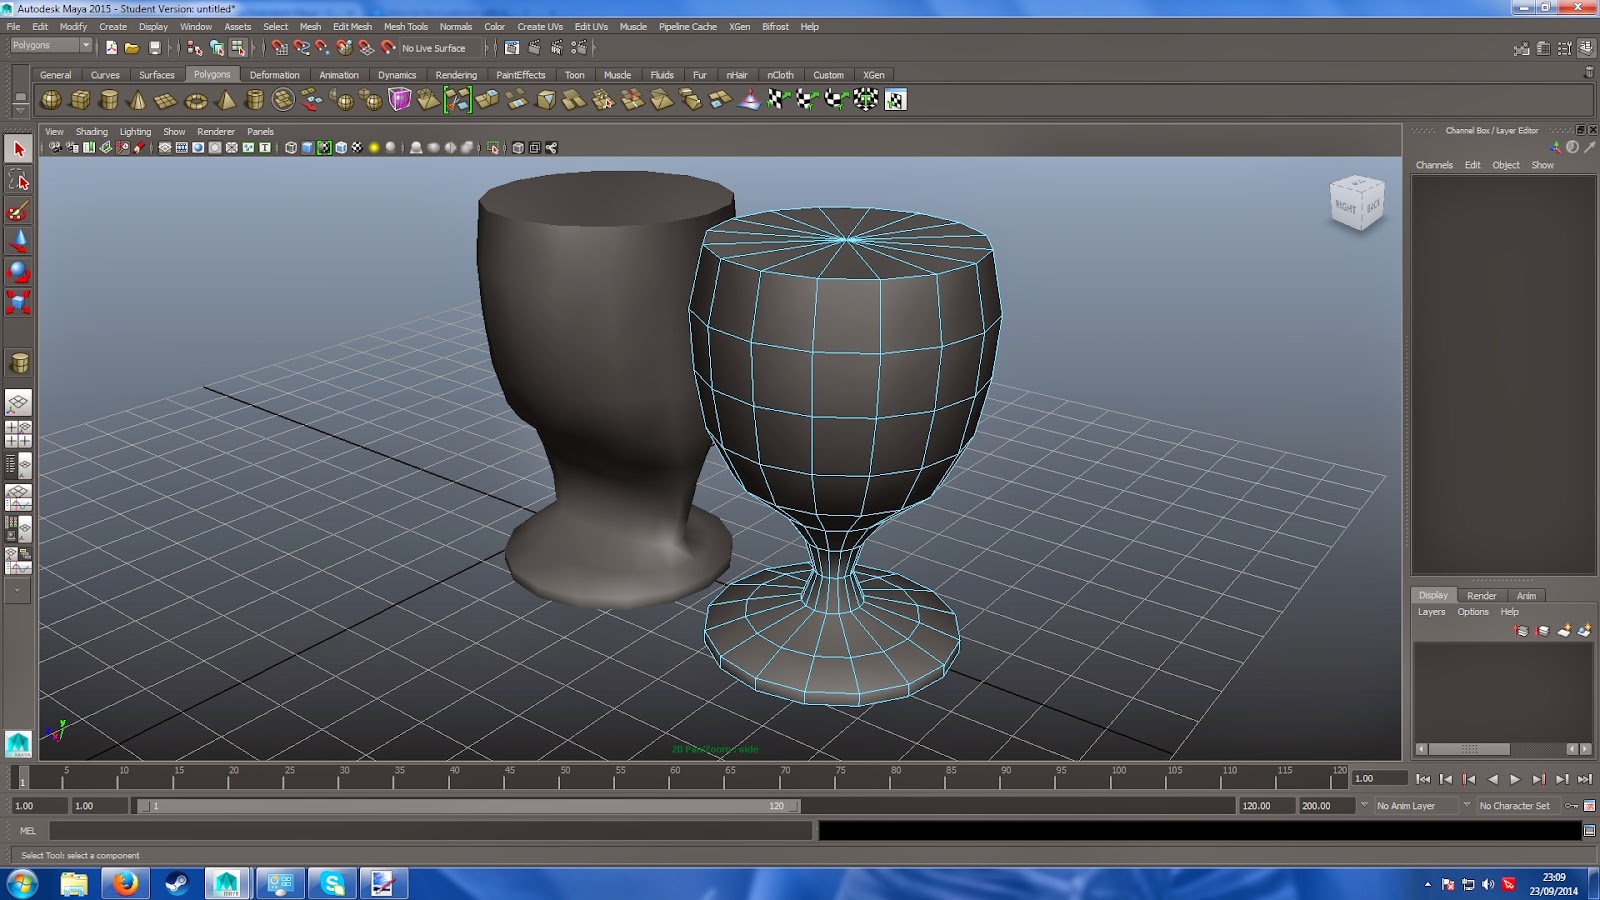 |
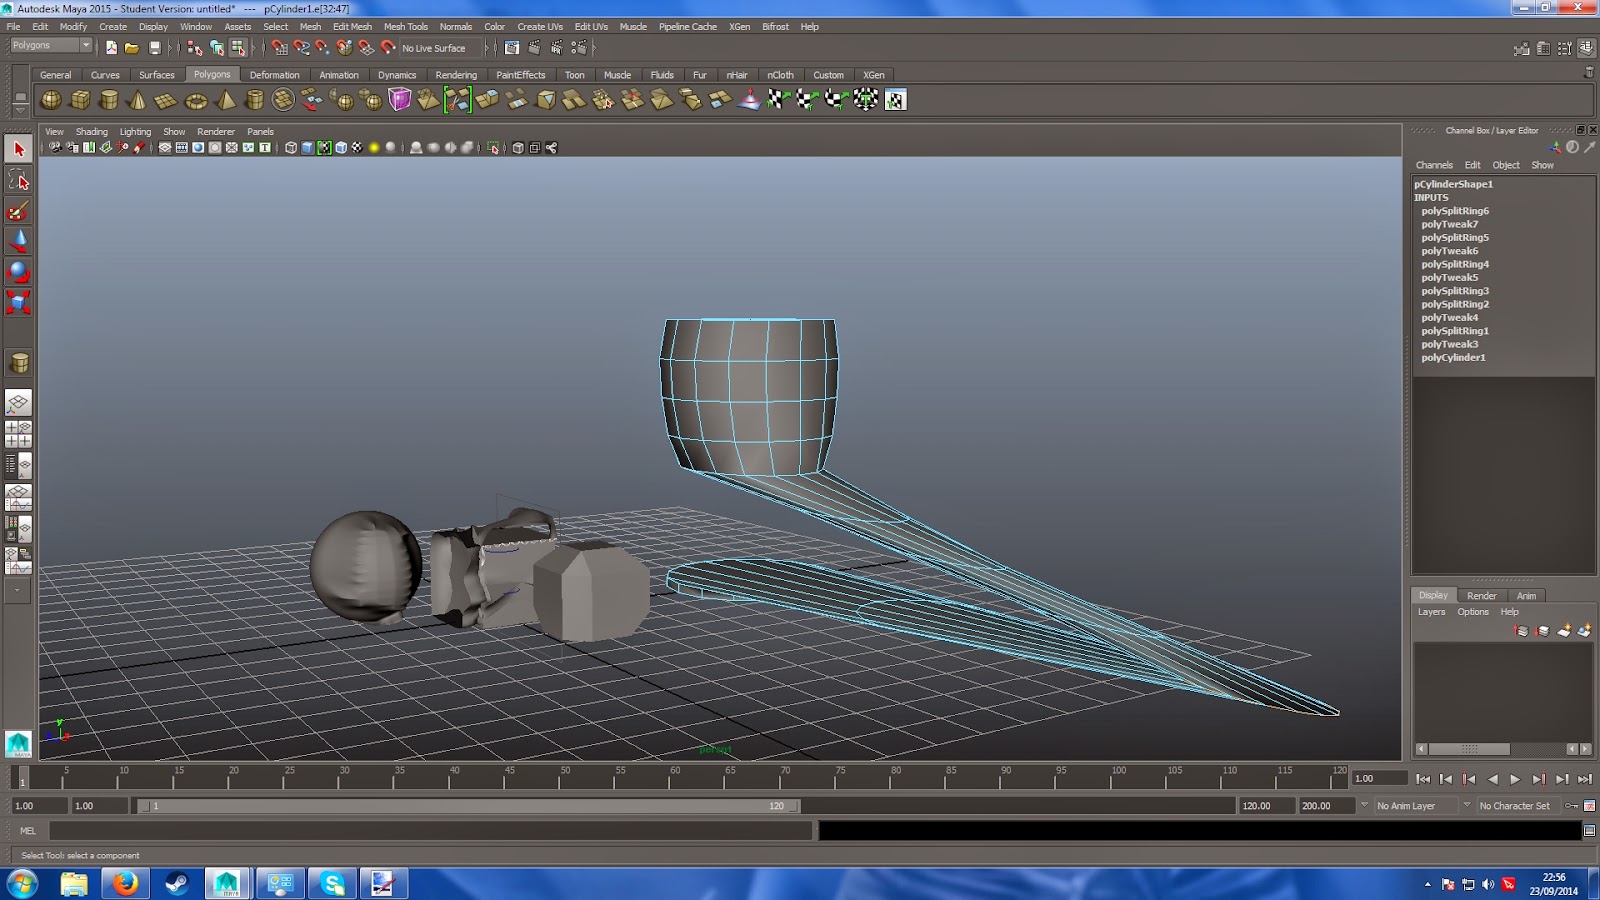
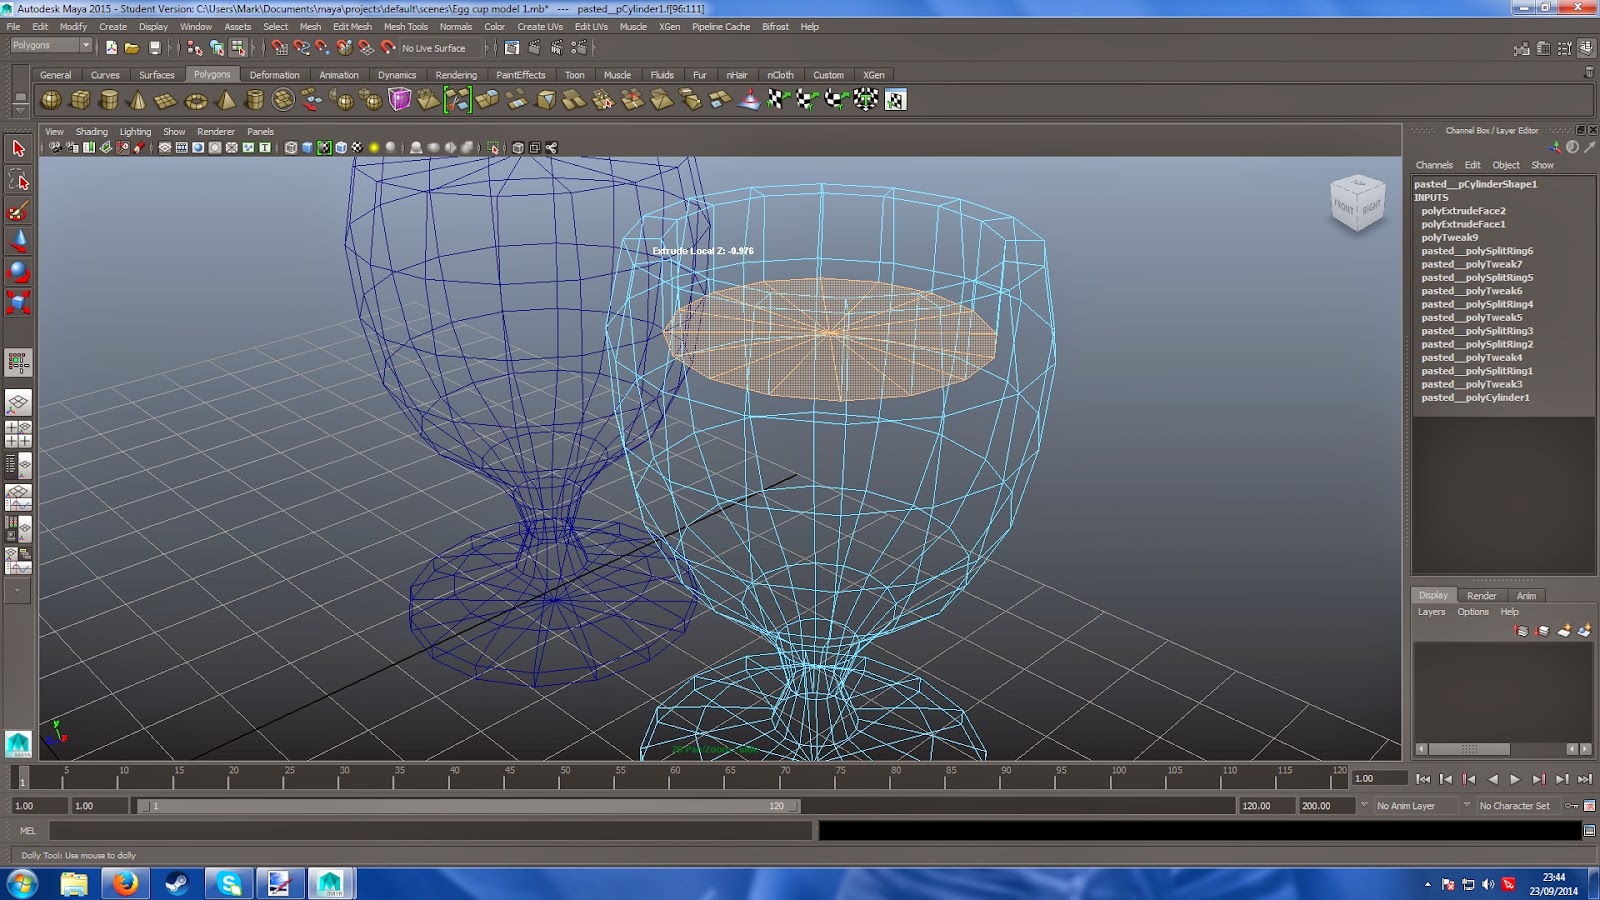
| Then I realised the neck had only been shaped from one side, so the front and back were fine but the sides were still essentially tube-like save for a concave bit in the middle. So I came up with a plan: I would copy the model, rotate it 90 degrees then go back into orthographic view and use the duplicate as a template to move the wireframe nodes to the right position, and as can be seen by the cup forward and right, it worked! I had a circular cup with ap roper neck. I found out later the best way to get a result and nto get that was to scale from the box in the centre and nto the arrows, which guarantees an equally-scaled shape. |
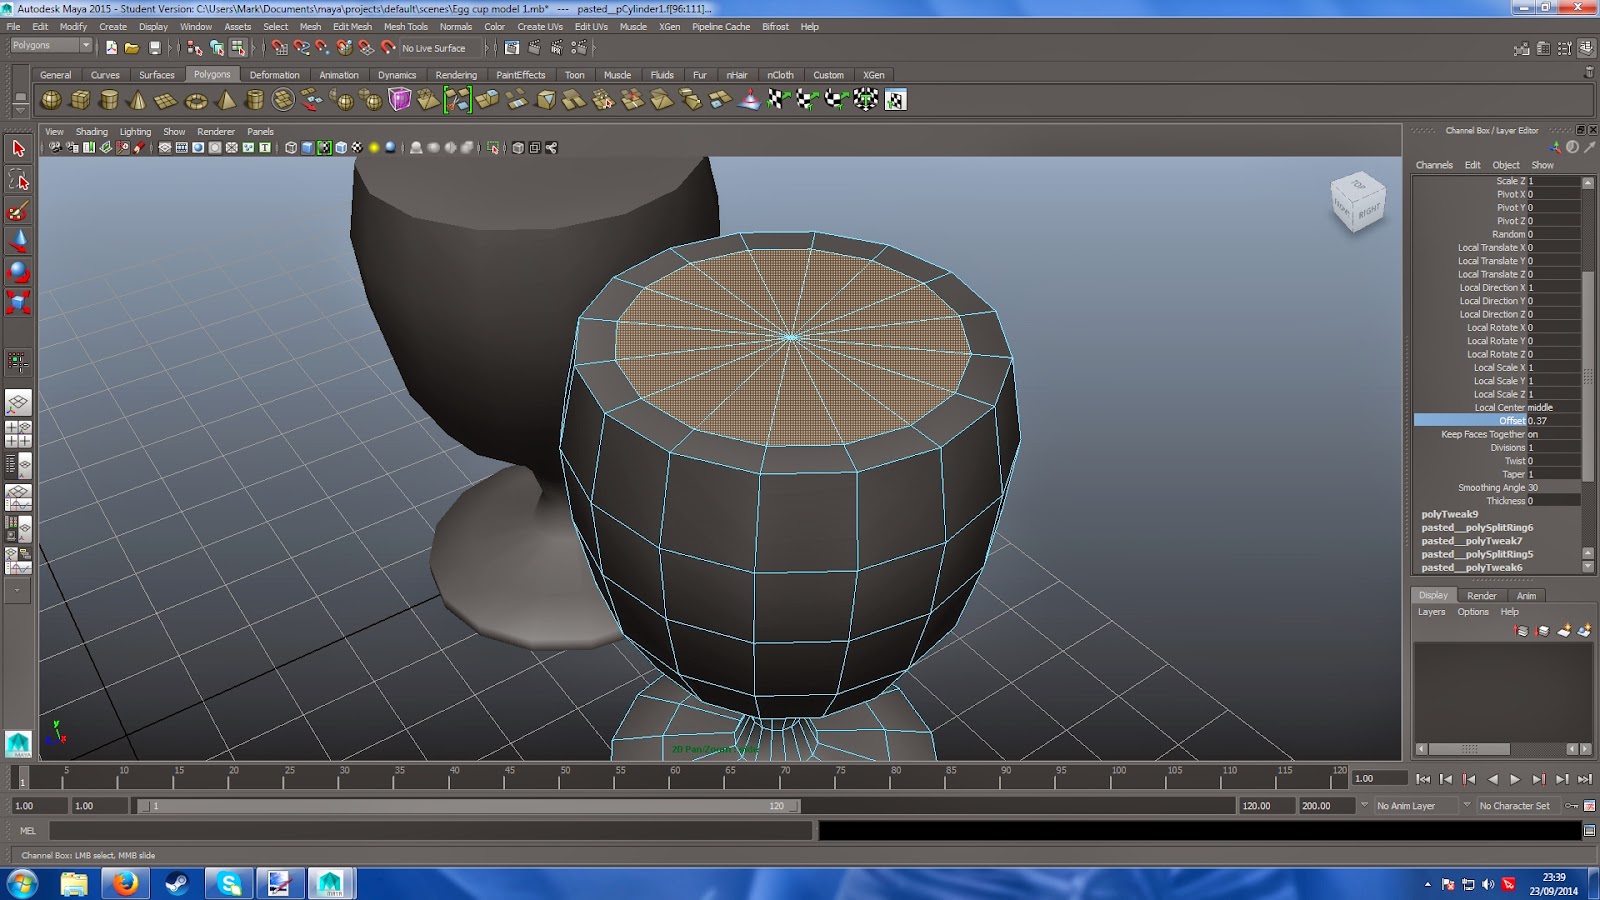 |
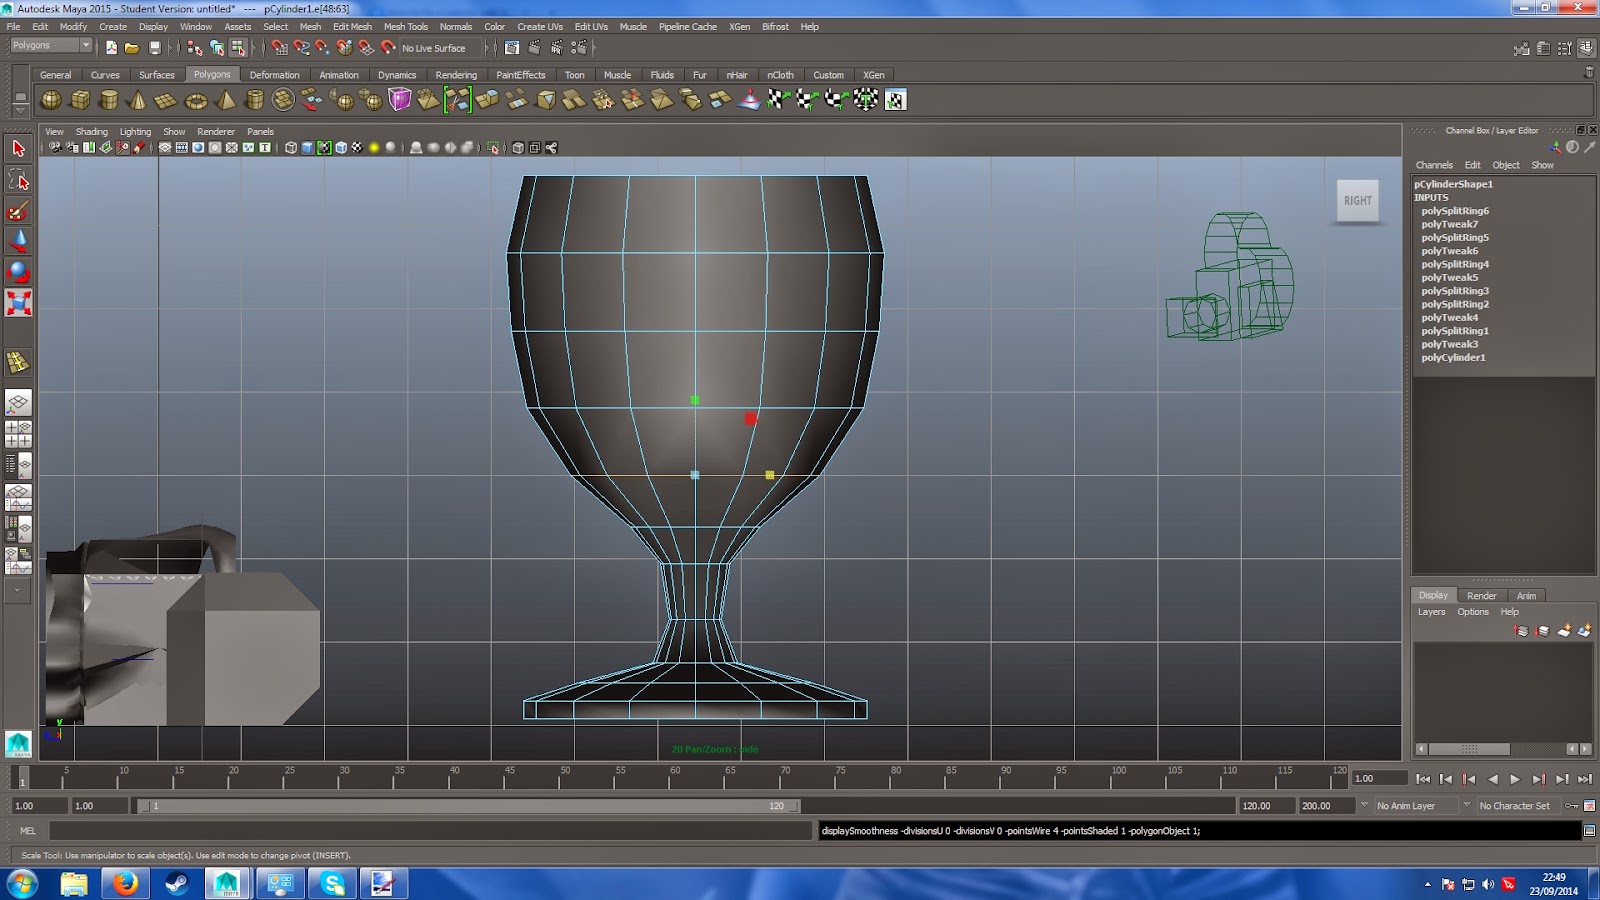
| This was the part I had messed up in class. Simon had showed the class then showed me again the trick to smoother and less doughy edges and I had one of those moments where I understood it...then forgot it when I tried it myself. Now I realise the best method is to extrude fro mthe edge, which took a bit of working out how to do properly, but now I know how to do so: Click the top parameter of the model in the menu on the right, scroll down to "offset", click the word, hold the Control Key and push left or right with the middle-mouse-button held down to pull the extrusion space inwards. |
 |
| After a few practices and one translation later I'm starting to get hole where the liquid or the egg would go. Then Once its at the right level, I click the "scale" button and drag it out slightly to match the angle of the outer edge, then repeat the extrude process. What I found interesting was after a couple of extrusions the drop was almost automatic, fairly lucky that the exterior faces were relatively equidistant, so I scaled then extruded again. |
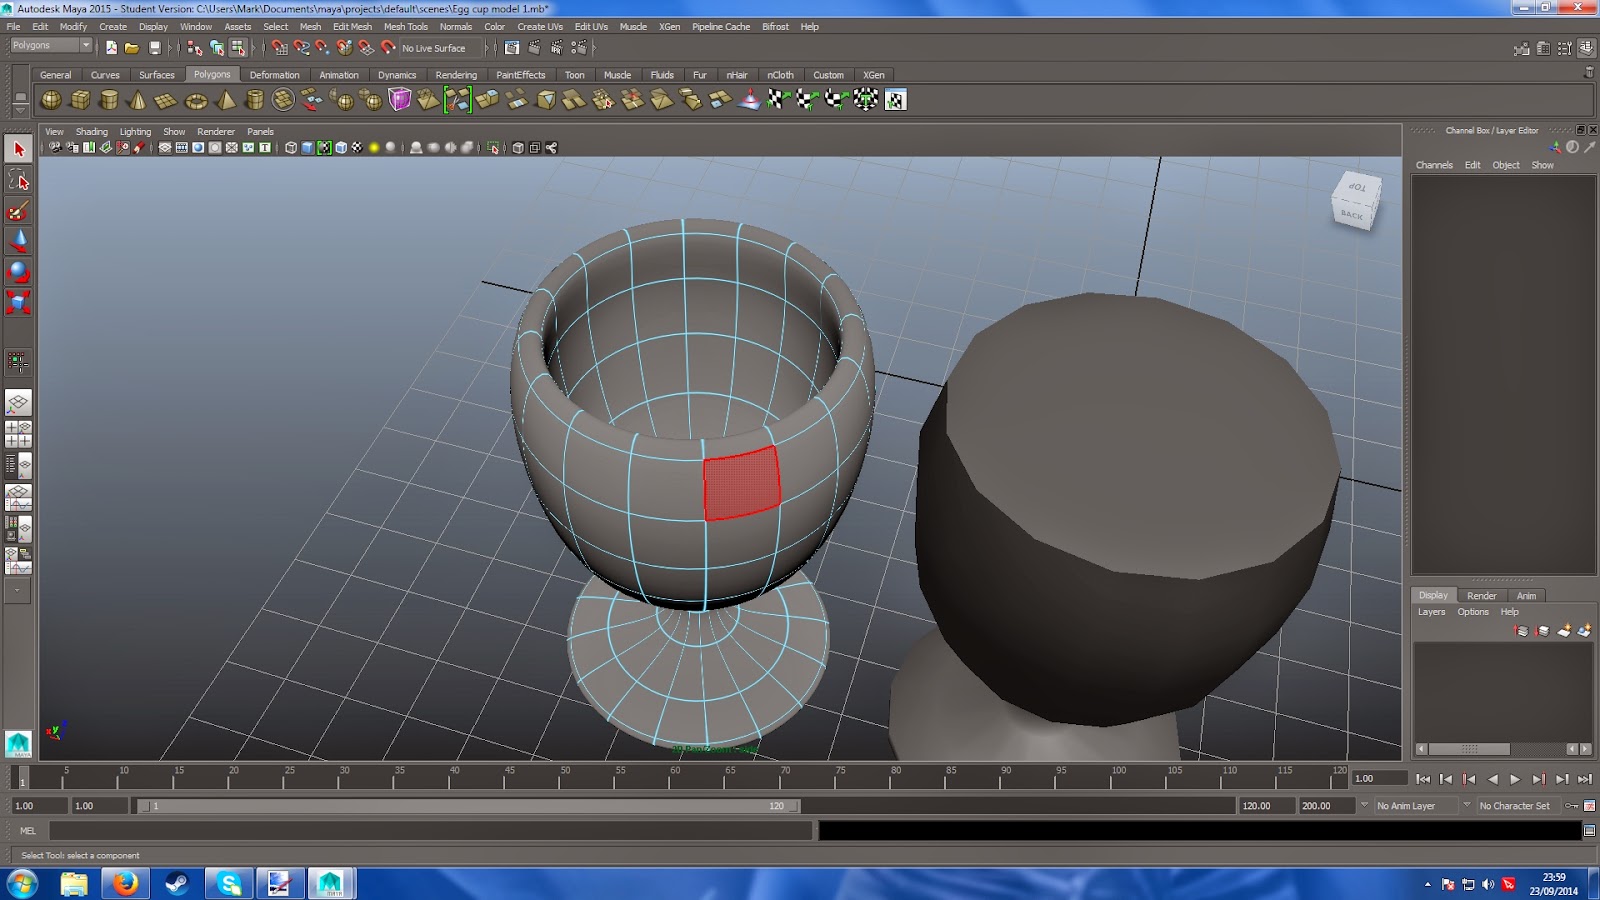 |
| After repeating the extrusion process on the base, I have something that does look rather cup-like and I quite like what I have managed. It took a bit of time and analysis of the tutorial to get right but I think I am getting the hang of Maya. |
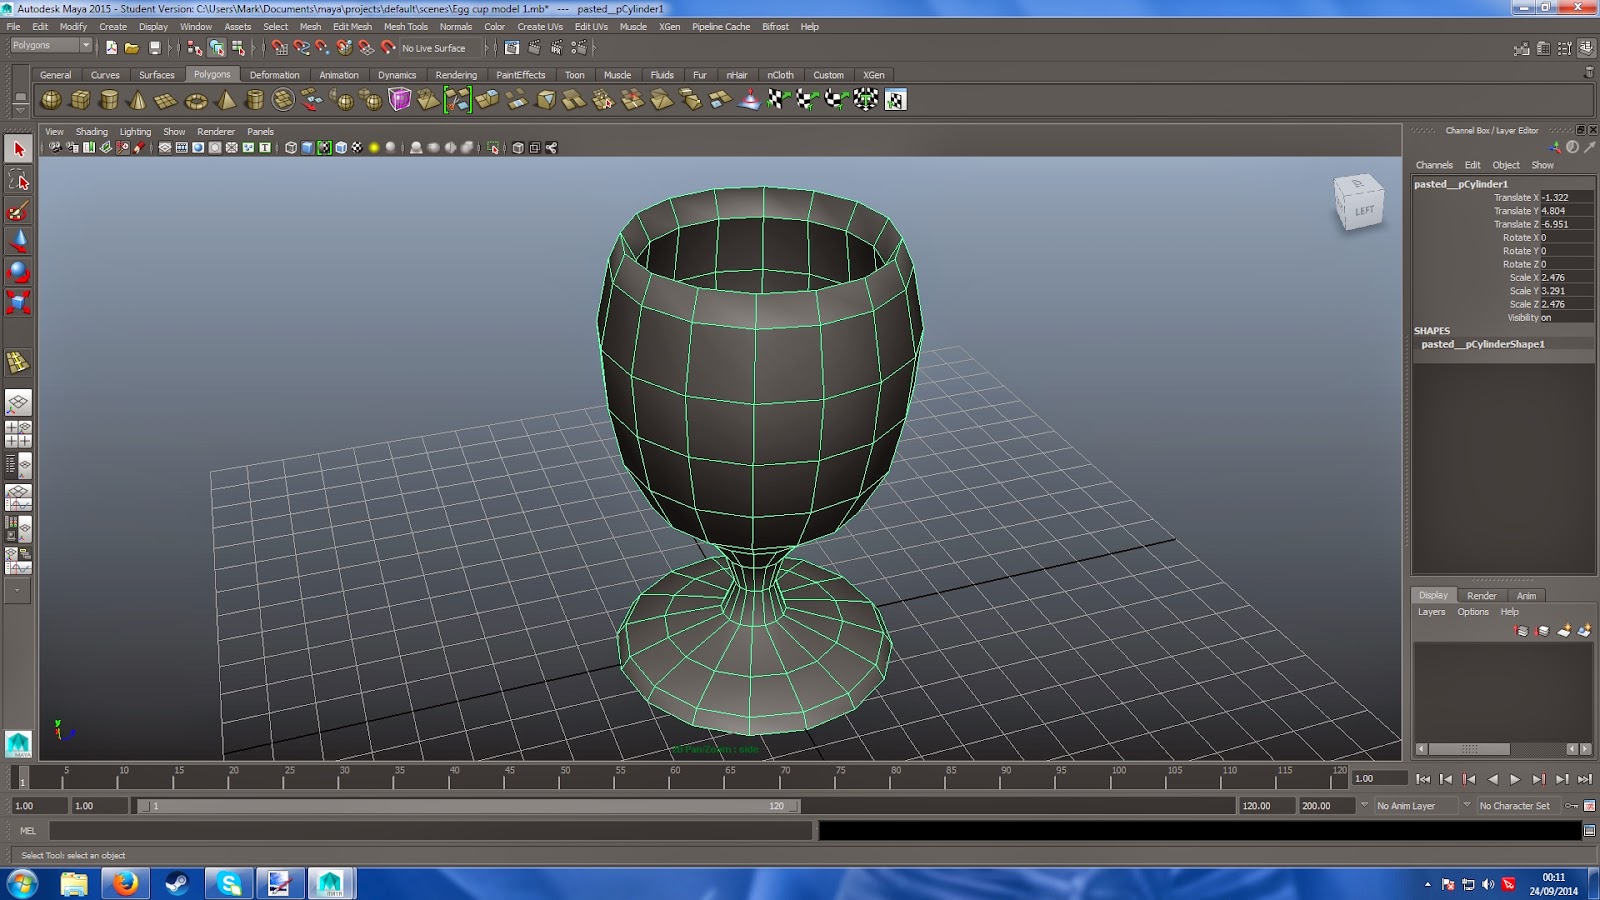 |
| FInal touch was giving mroe volume to the rim, made by using the "insert edge loop tool" and then translating up the Z axis to create a wedge around the rim. I didn't need the duplicate cup any more so to save clutter and file size I deleted it, even if this is only a relatively simple structure. |
 |
| And I hit the Render key and et voilà! One egg cup. Took me a couple of hours and a few repeats of certain moments in the tutorial but the basic shape of my first Maya model is complete. |
Now that I have tried using Maya for something proper rather than some basic geometric shapes I feel a
lot more confident with it than when I started. And once I got into the tools it got more comfortable, I was willing to keep going even if one or two points felt slightly tedious and some modelling moments I wasn't sure where I went wrong but in the end I am satisfied with my end result. I was also surprised that I managed to create quite a decent model from a single polygon shape. It feels like an entire world of opportunity has opened up for me, that first-accomplishment euphoria is certainly kicking in by now.

Well done Mark for sticking at it! :)
ReplyDeleteMark good job!
ReplyDeleteThe best thing to do if you don't understand something is plug away at some basic tutorials and you have done that so good stuff. Another tool you will want to become familiar with soon is the "Bevel" tool which will allow you to enforce surface edges (such as the lips and foot of your glass).
That is still a ways down the road though and you will get to that if you haven't already. All in all the edge flow is pretty nice and you don't seem to have anything that isn't a quad (avoid 5 sided shapes like the plague). It looks good for a first go :)
Keep going you have just taken your first step into a "bigger world"
xXStItChXx