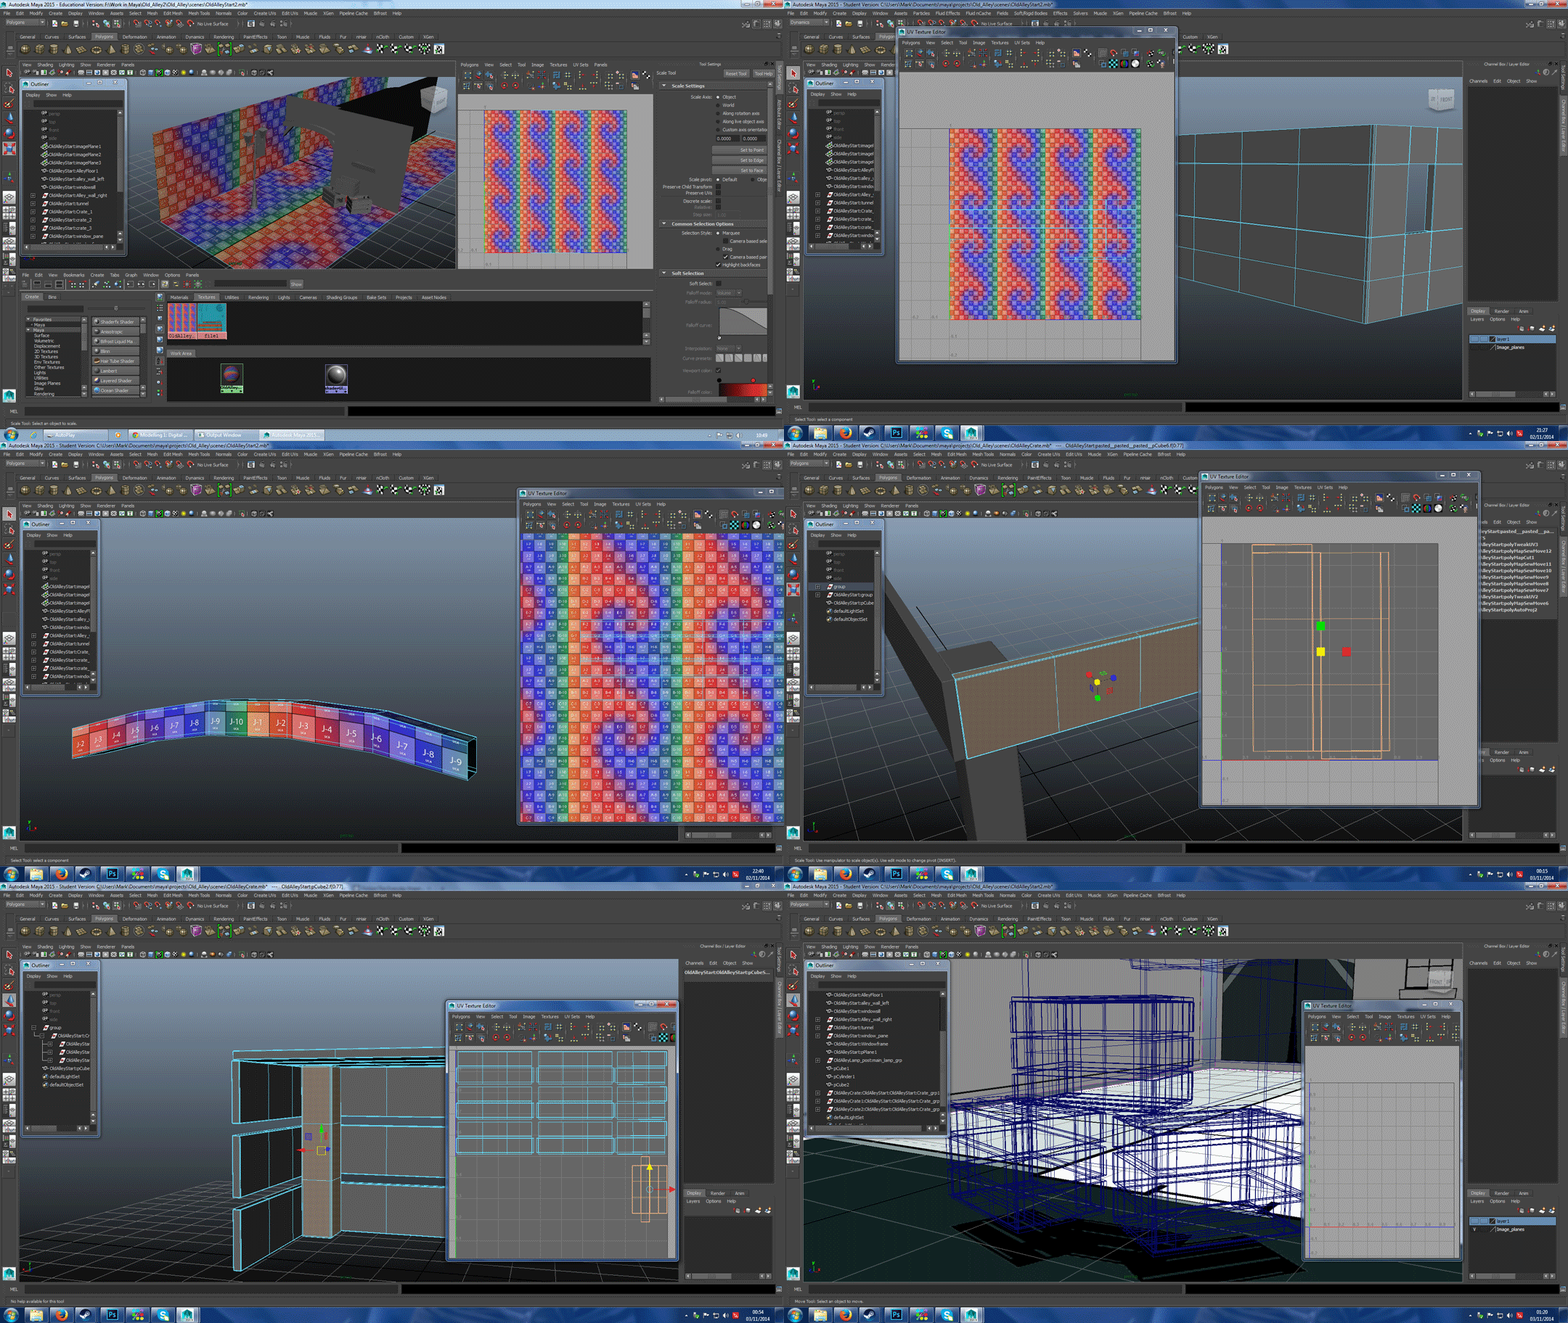
Through the preparation of this I can understand now why I was informed its best ot make a model, UV map it, and then move on rather than waiting until the end because it did get tedious to map all these models in one go. I also found that for a few cases (like the posts inside the crates), I had to resort to planar mapping a lot of the time when I suppose I could have done an automatic map.
I also discovered, to my annoyance, that some things were mapped (probably could be avoided by rendering the map plane the right way) in reverse on default settings and when I selected to flip the selected UVs the whole thing would break apart joinwise (the shell still retained its shape and arrangement) and I had to resew the shell back up (not too much of an issue for this current project as most things are still relatively quite simple) before attaching to other shells. Other than this monor inconvenience the whole thing wasn't too bad. A minor edit to note that happened just after I made the GIF: I cleaned up the object names so they didn't stretch halfway across the screen with repetition. It has made things a lot easier to navigate.
Other than a few minor issues with the UV mapping that I can solve with patience, I think I have the gist of most of the tools. Once I refine the maps for the lamp post I can move on to the actual texture, reflection and bump maps. That next part will probably be fun.


No comments:
Post a Comment